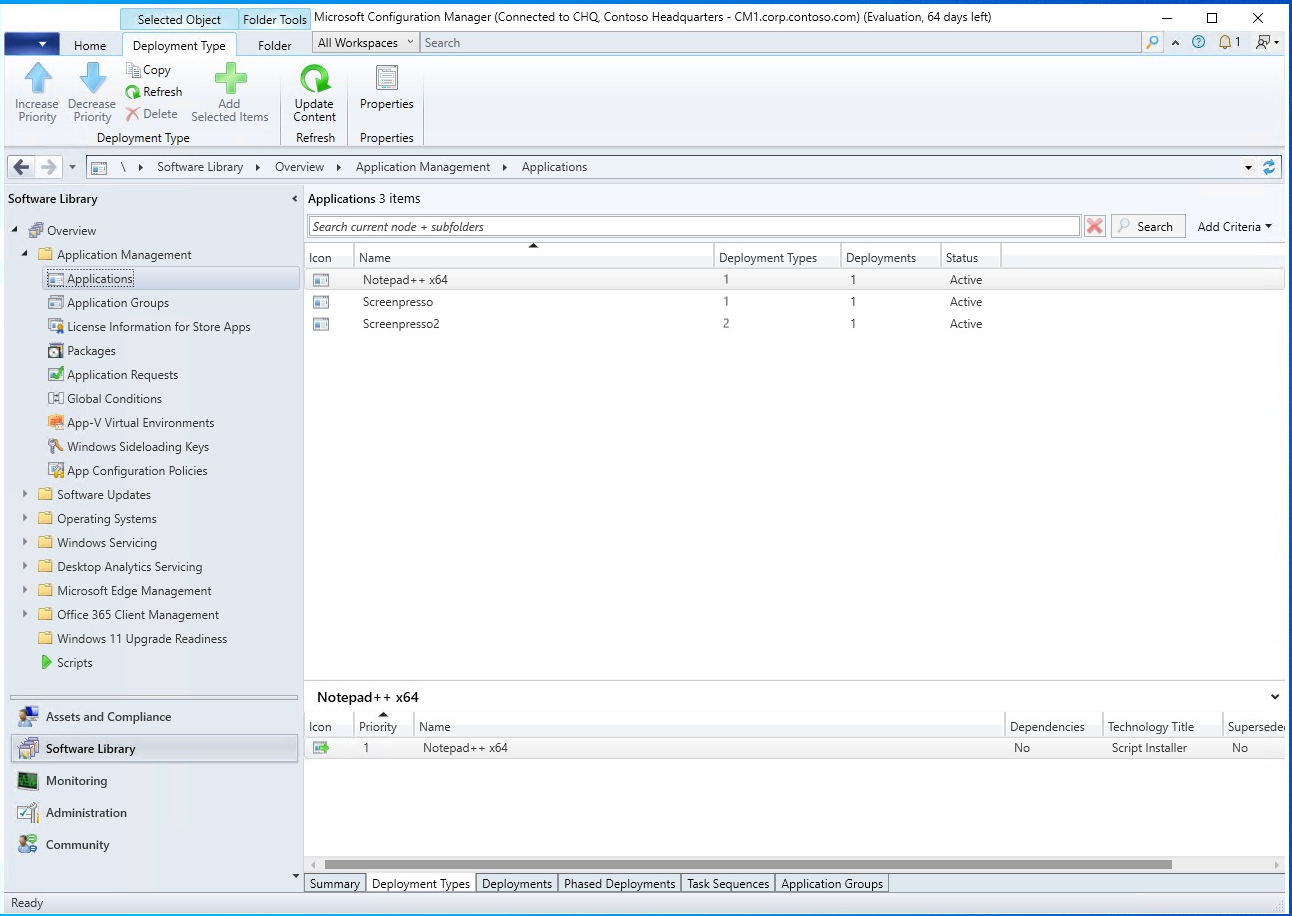
I am no means an expert when it comes to MECM but over the years I have had to deploy tens of applications for my organization. Here is the way I build an application. There are many other ways in addition such as packages, install scripts, etc.
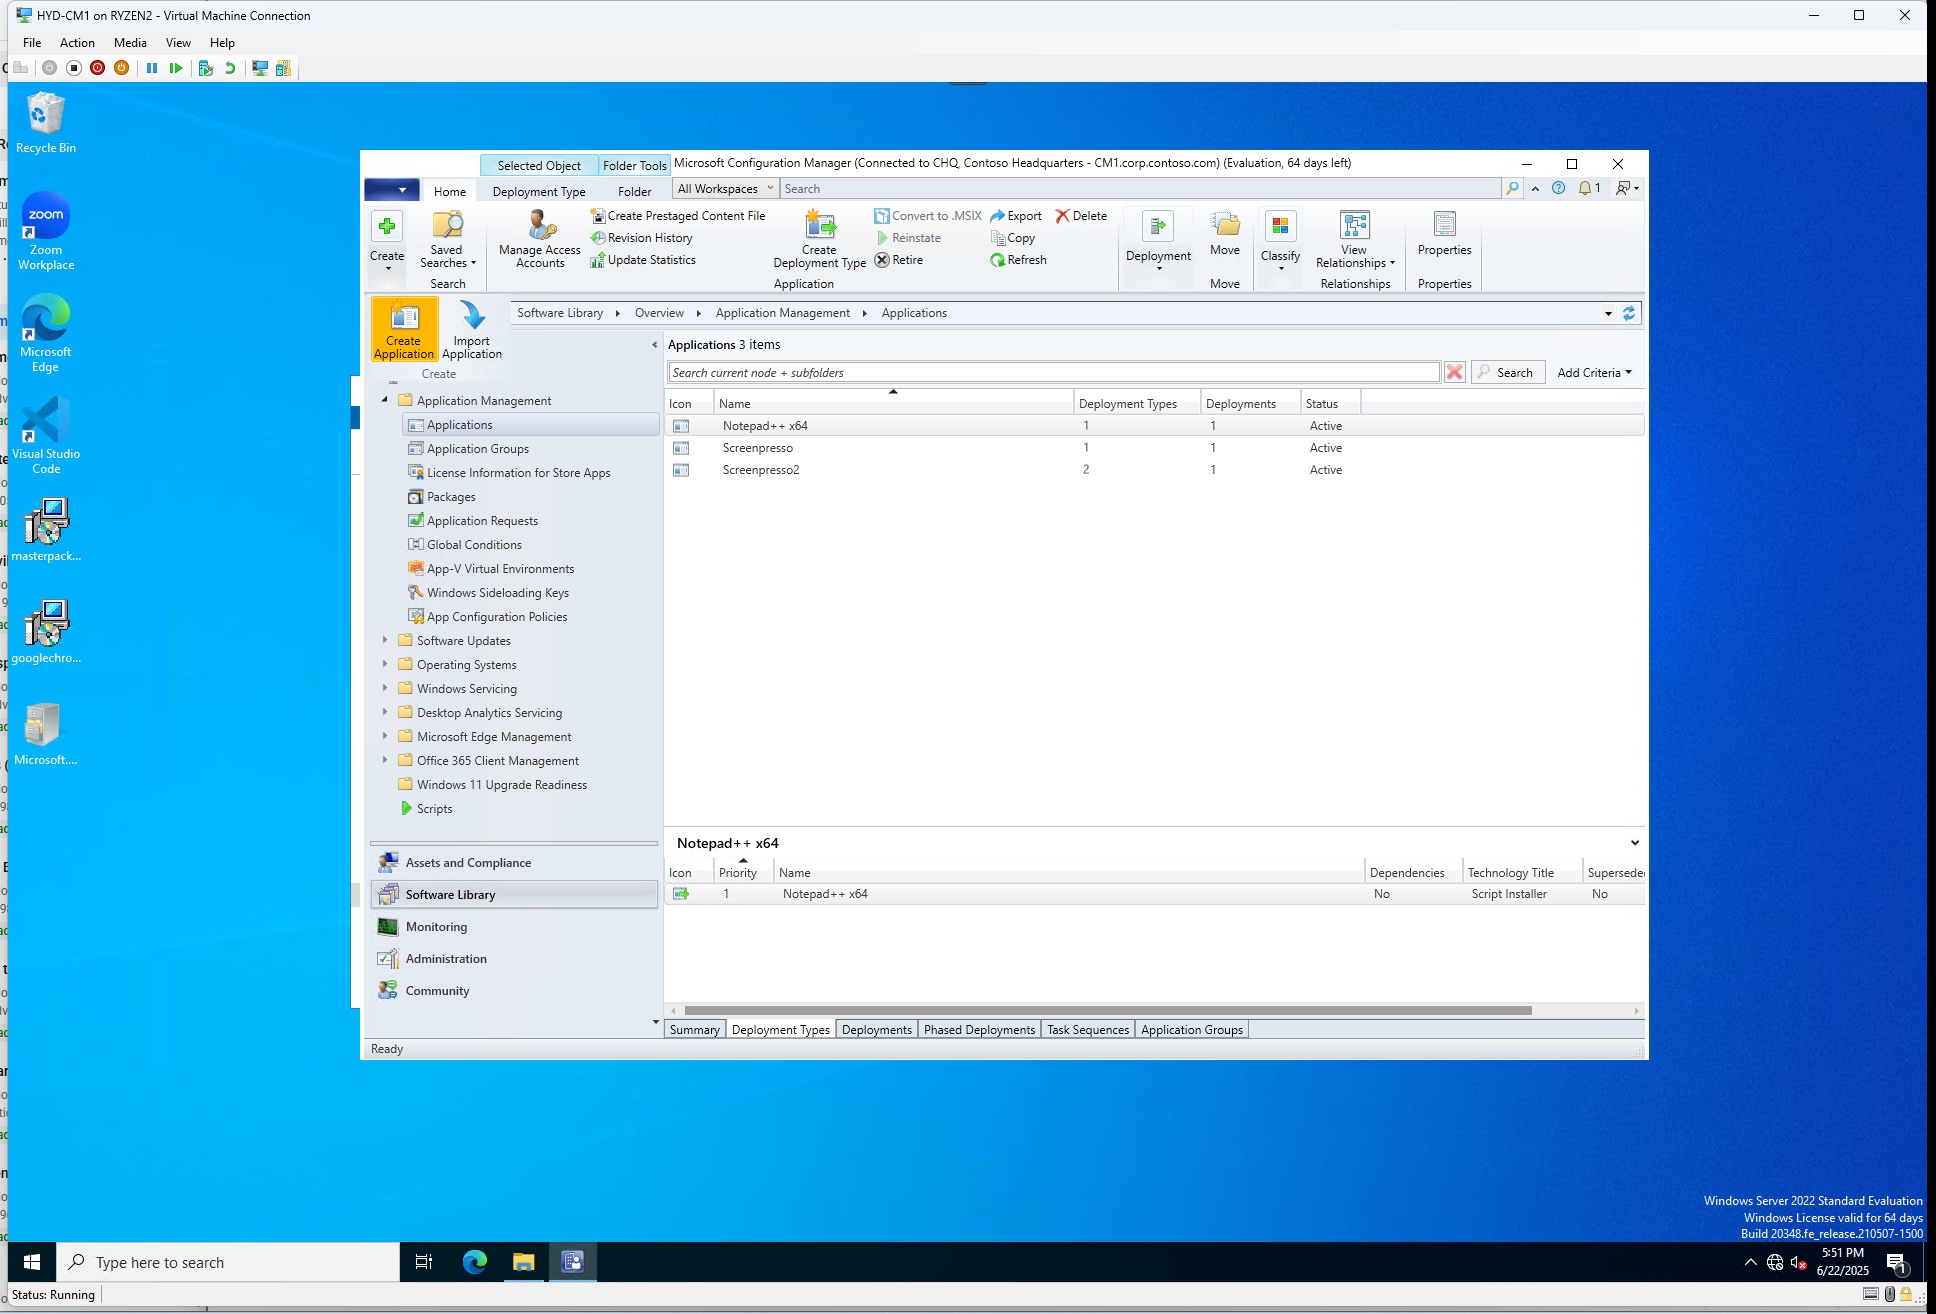
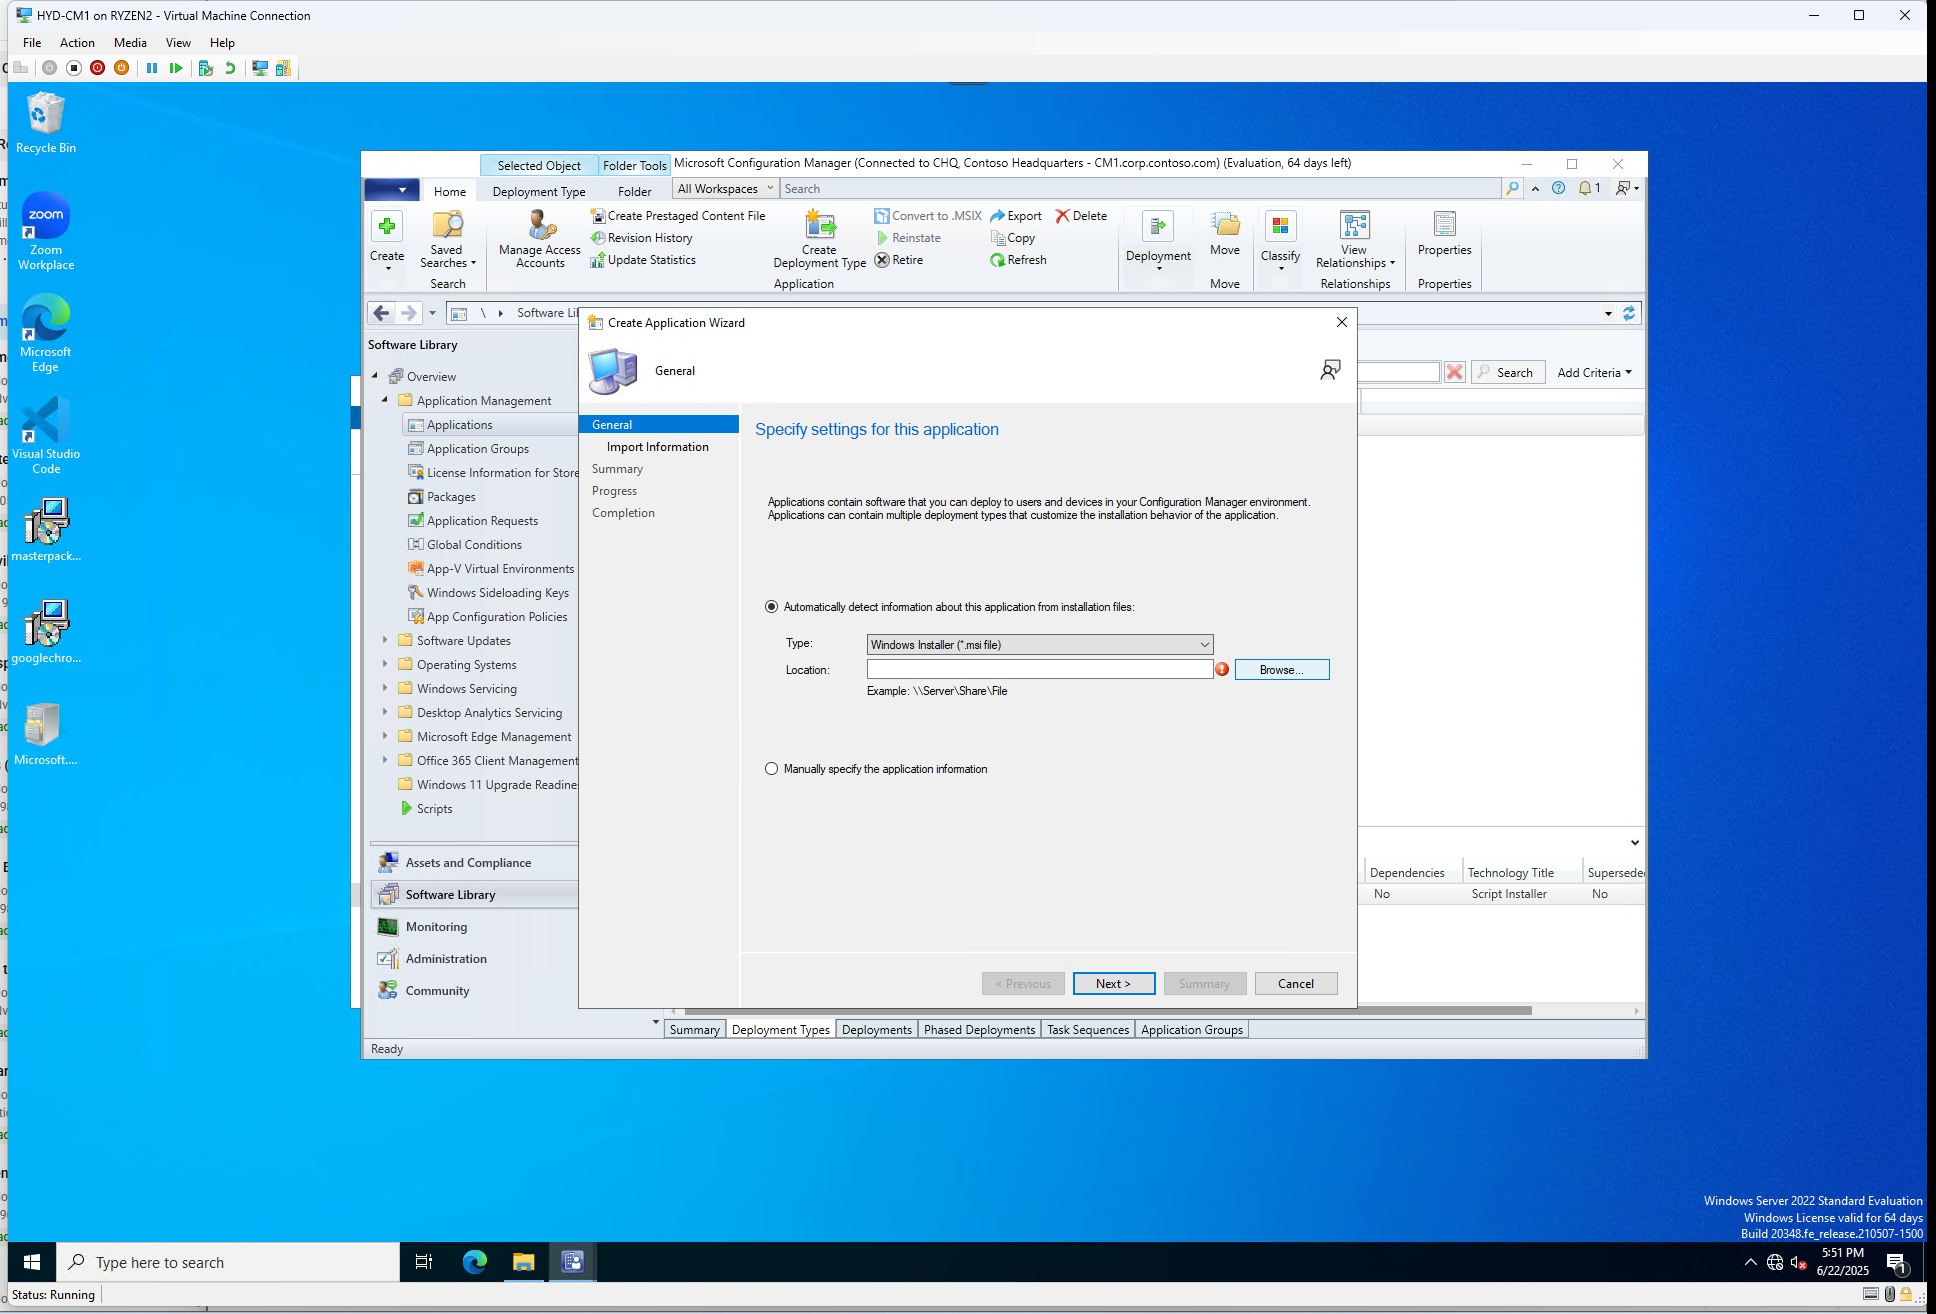
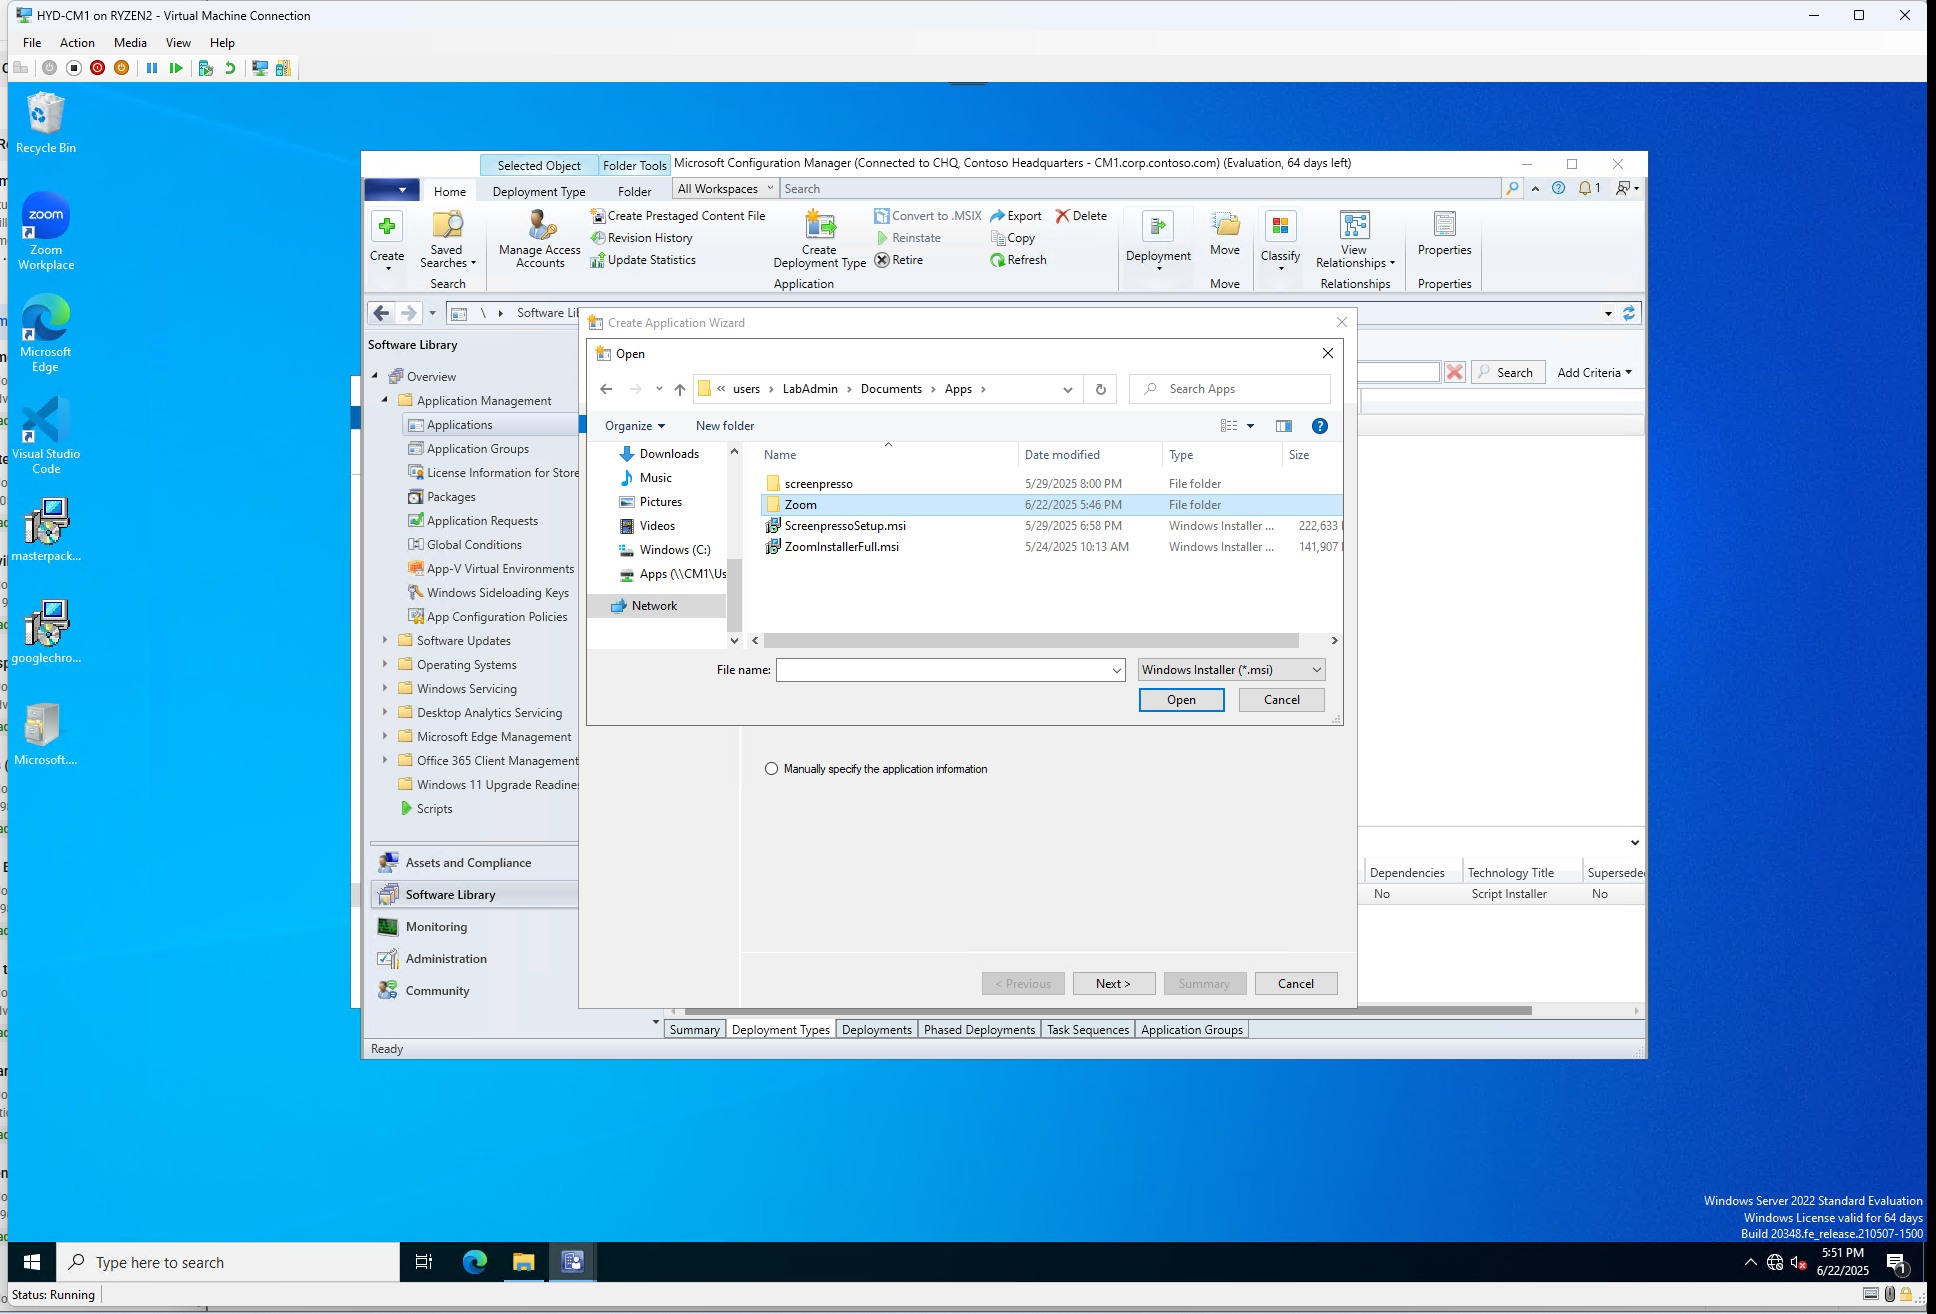
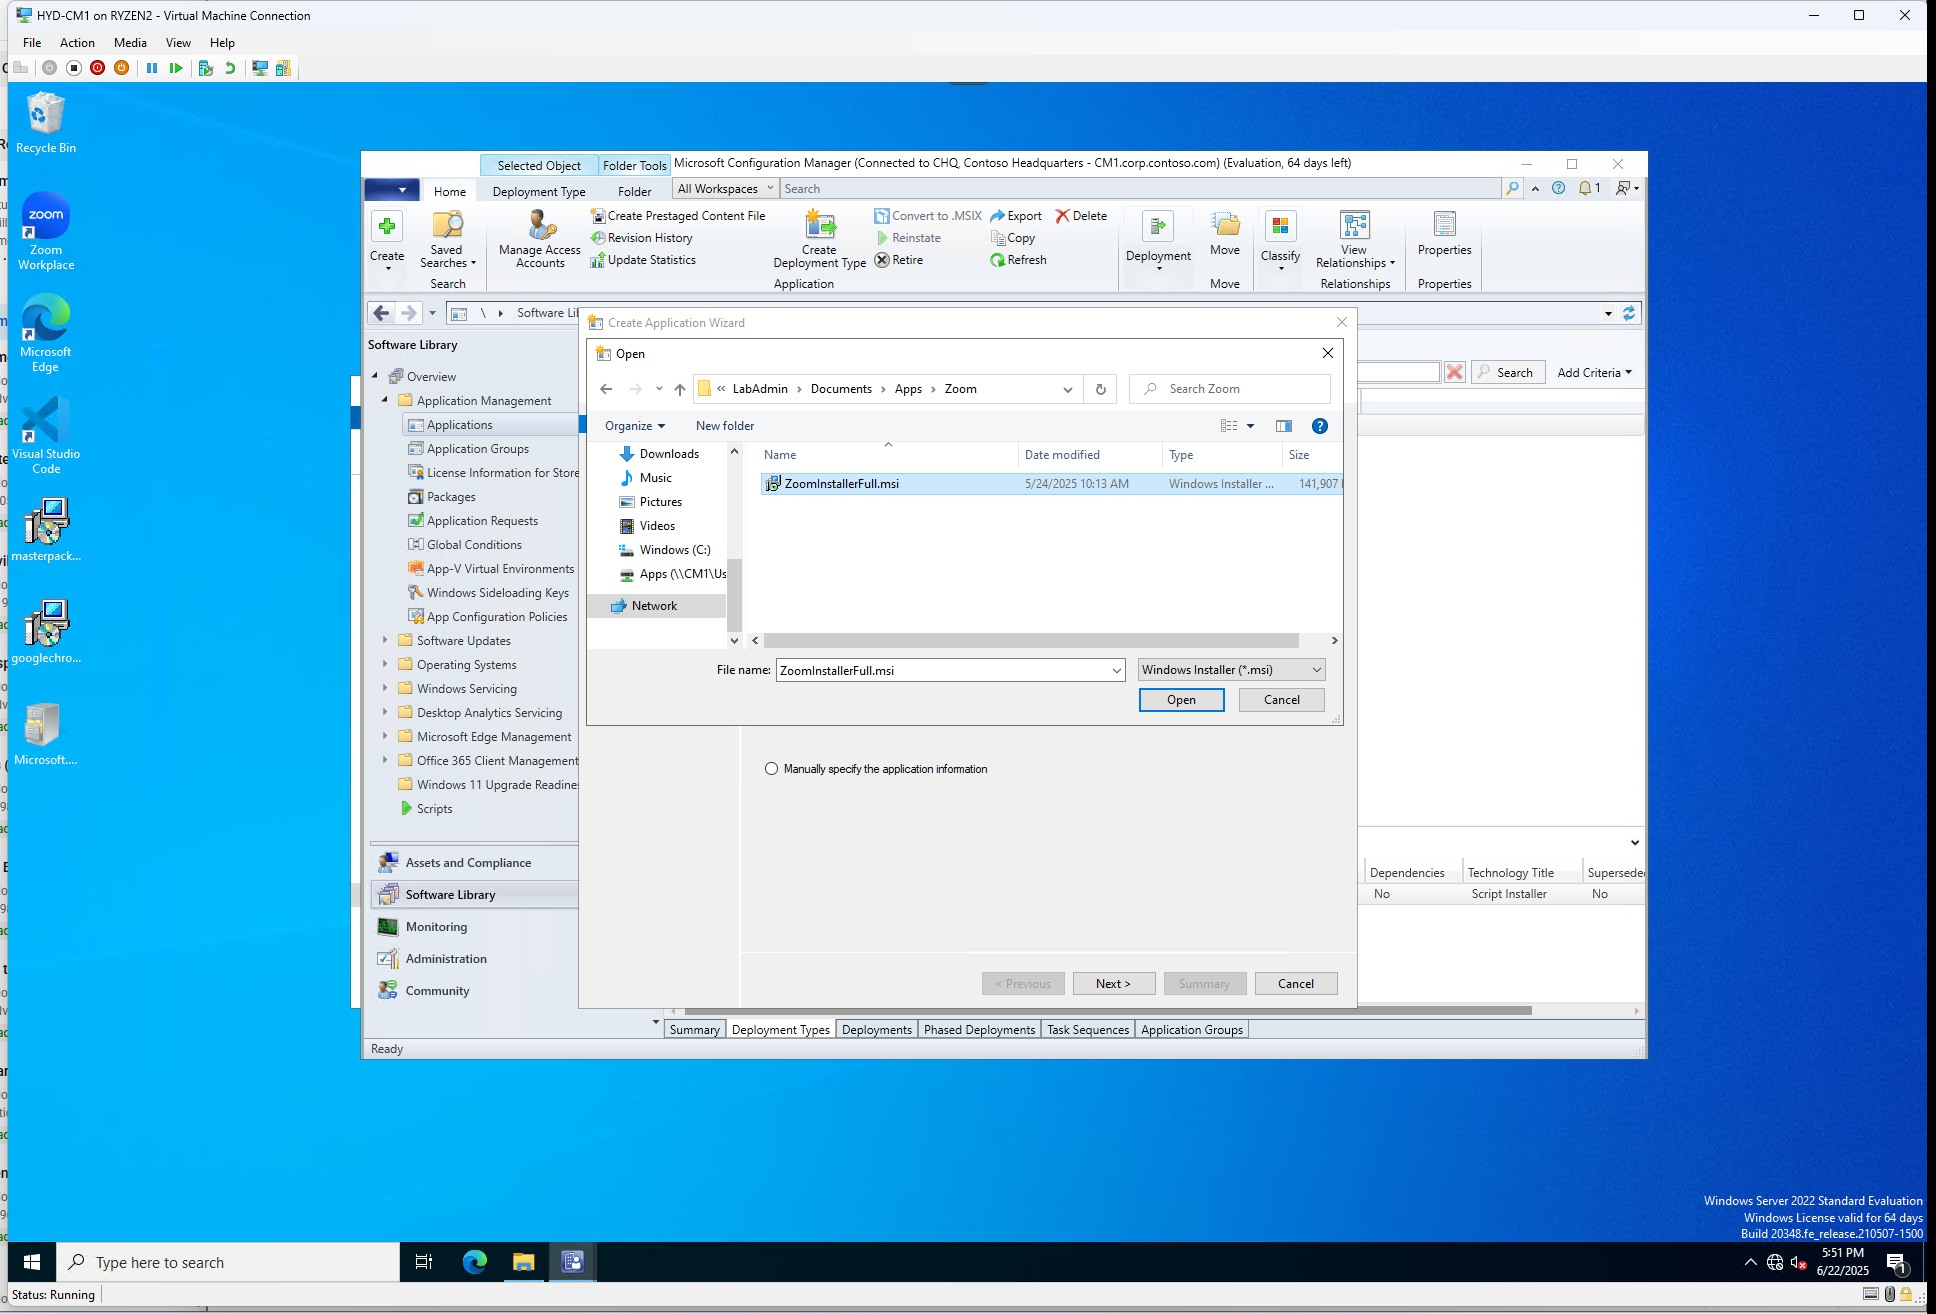
Click the Home Open Configuration Manager > Software Library > Applications e tab > Click the Home tab (navy) > Create > Create ApplicationChoose Windows Installer (*msi File) > Browse to location .msi fileLocate file. I recommend having an organized folder for all sources.Navigate to folderSelect .msi in this case ZoomInstallerFull.msiChoose next after location path is filled without errors. Make sure it's a UNC path.Click next after verifying installer information.
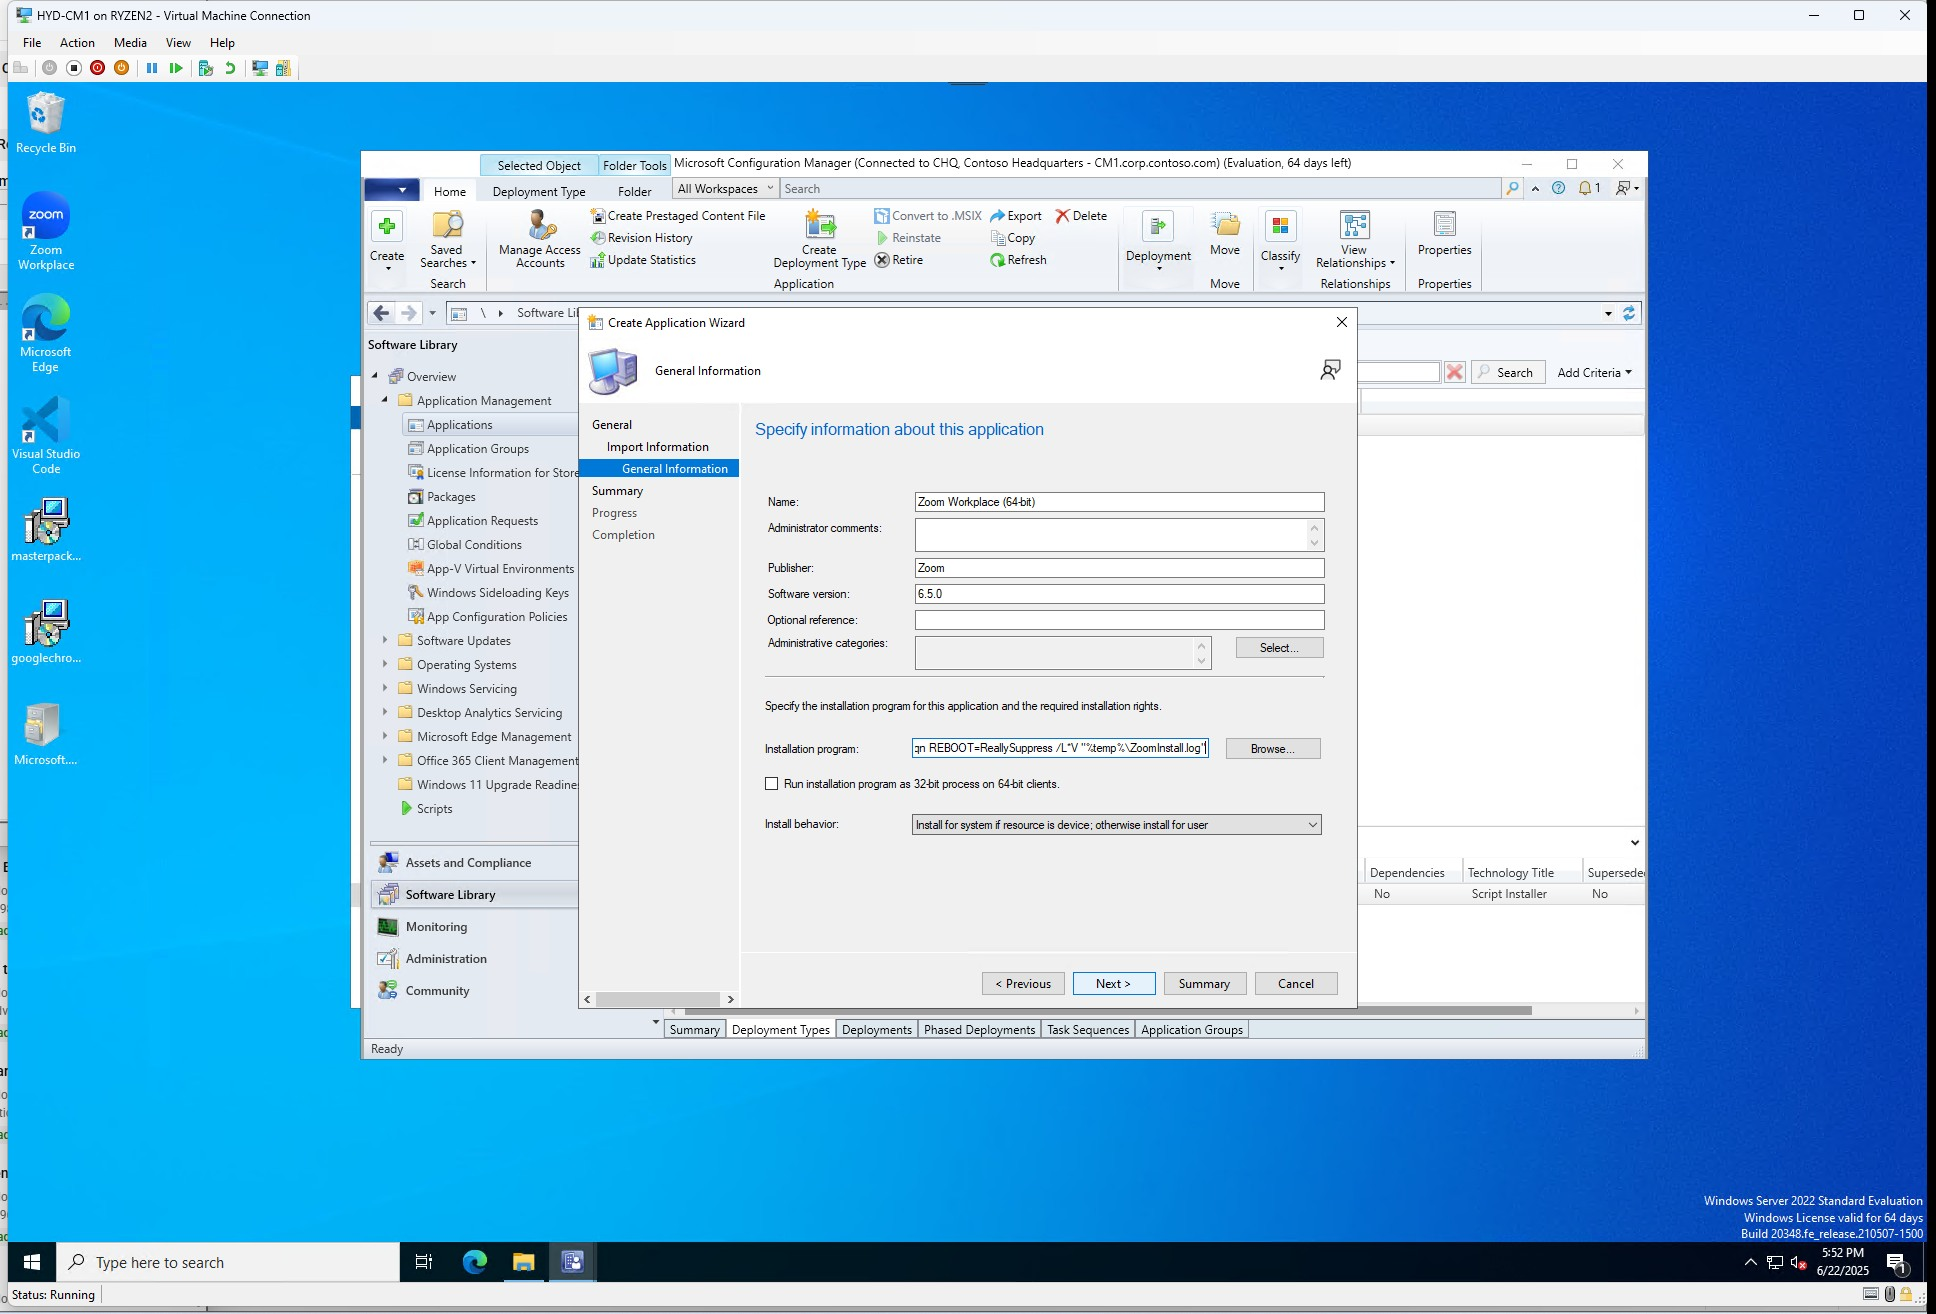
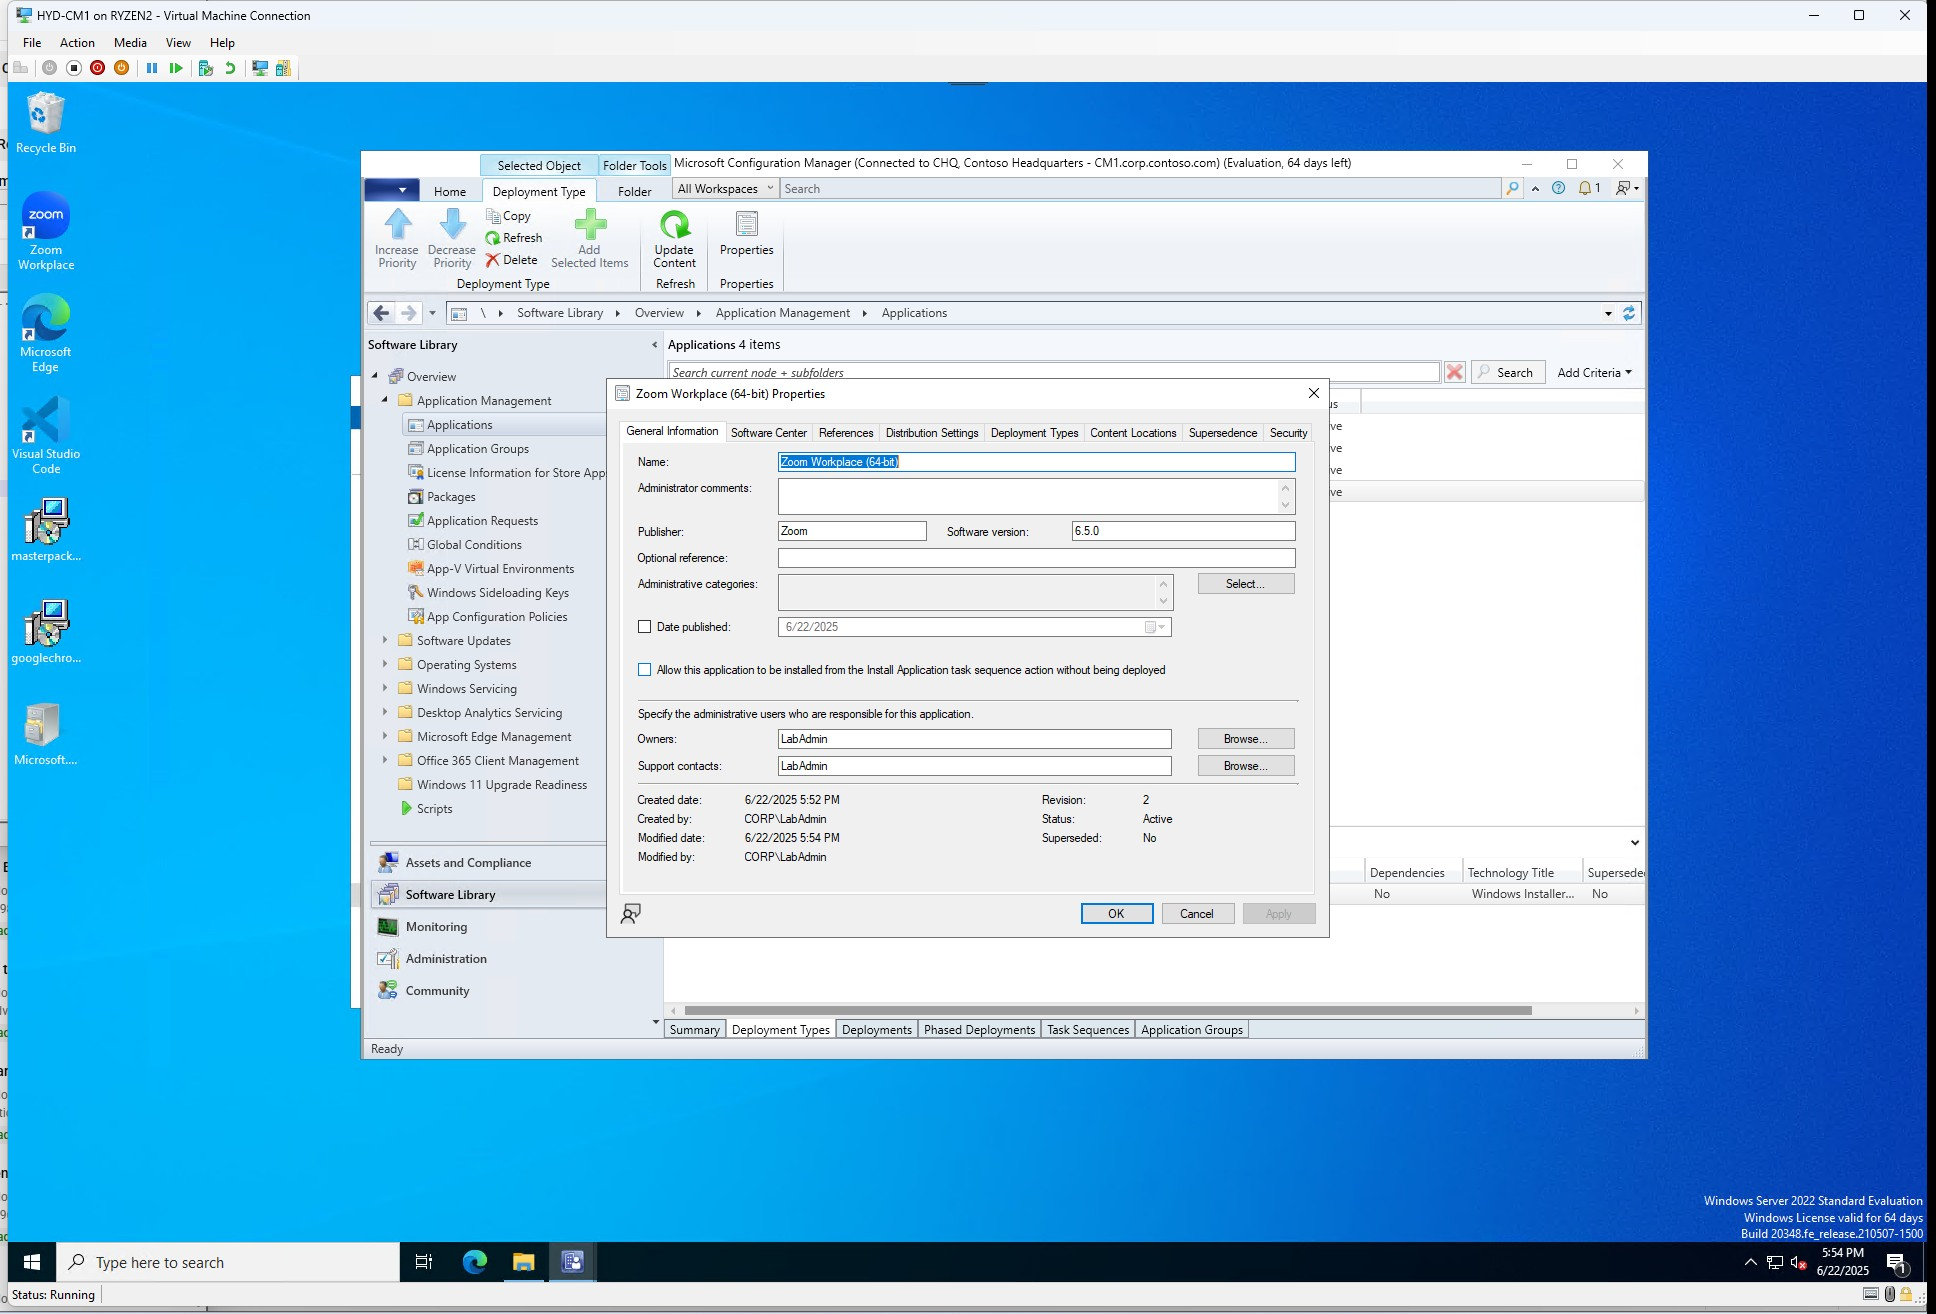
For General Information it's best to fill out as much information as you can about the application you are packaging to help you or someone else identify everything it. This is helpful so you know the version you are packaging or what categories the app will be assigned to.
Configuration Manager will automatically add the simple installer parameters but we will want to edit it for additional logging and to suppress a reboot. This will vary depending on what application, specific parameters that are needed for example Palo Alto Global Protect I can add a PORTAL="" parameter to autofill the URL in the app.
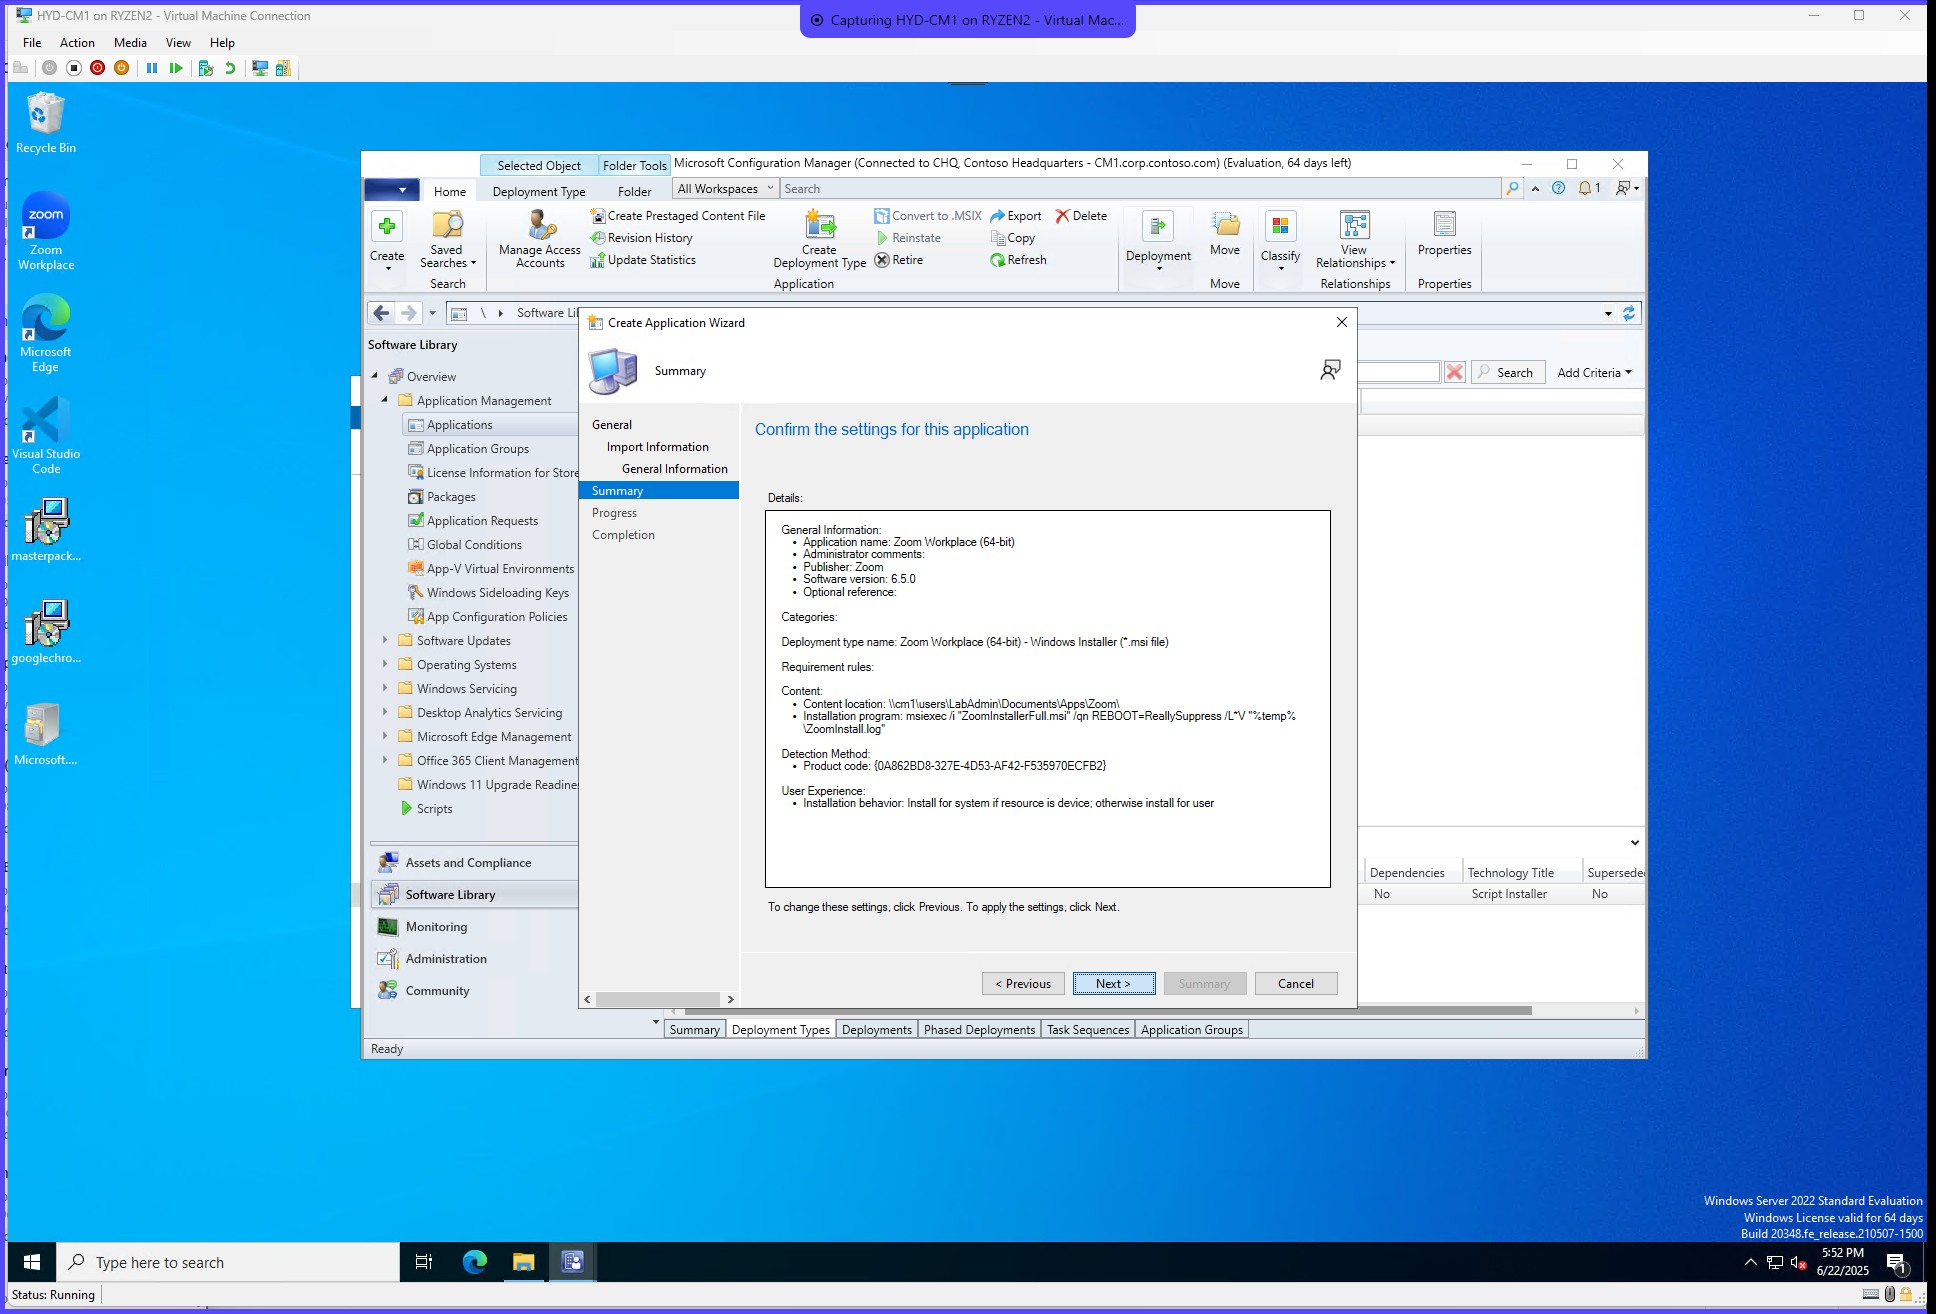
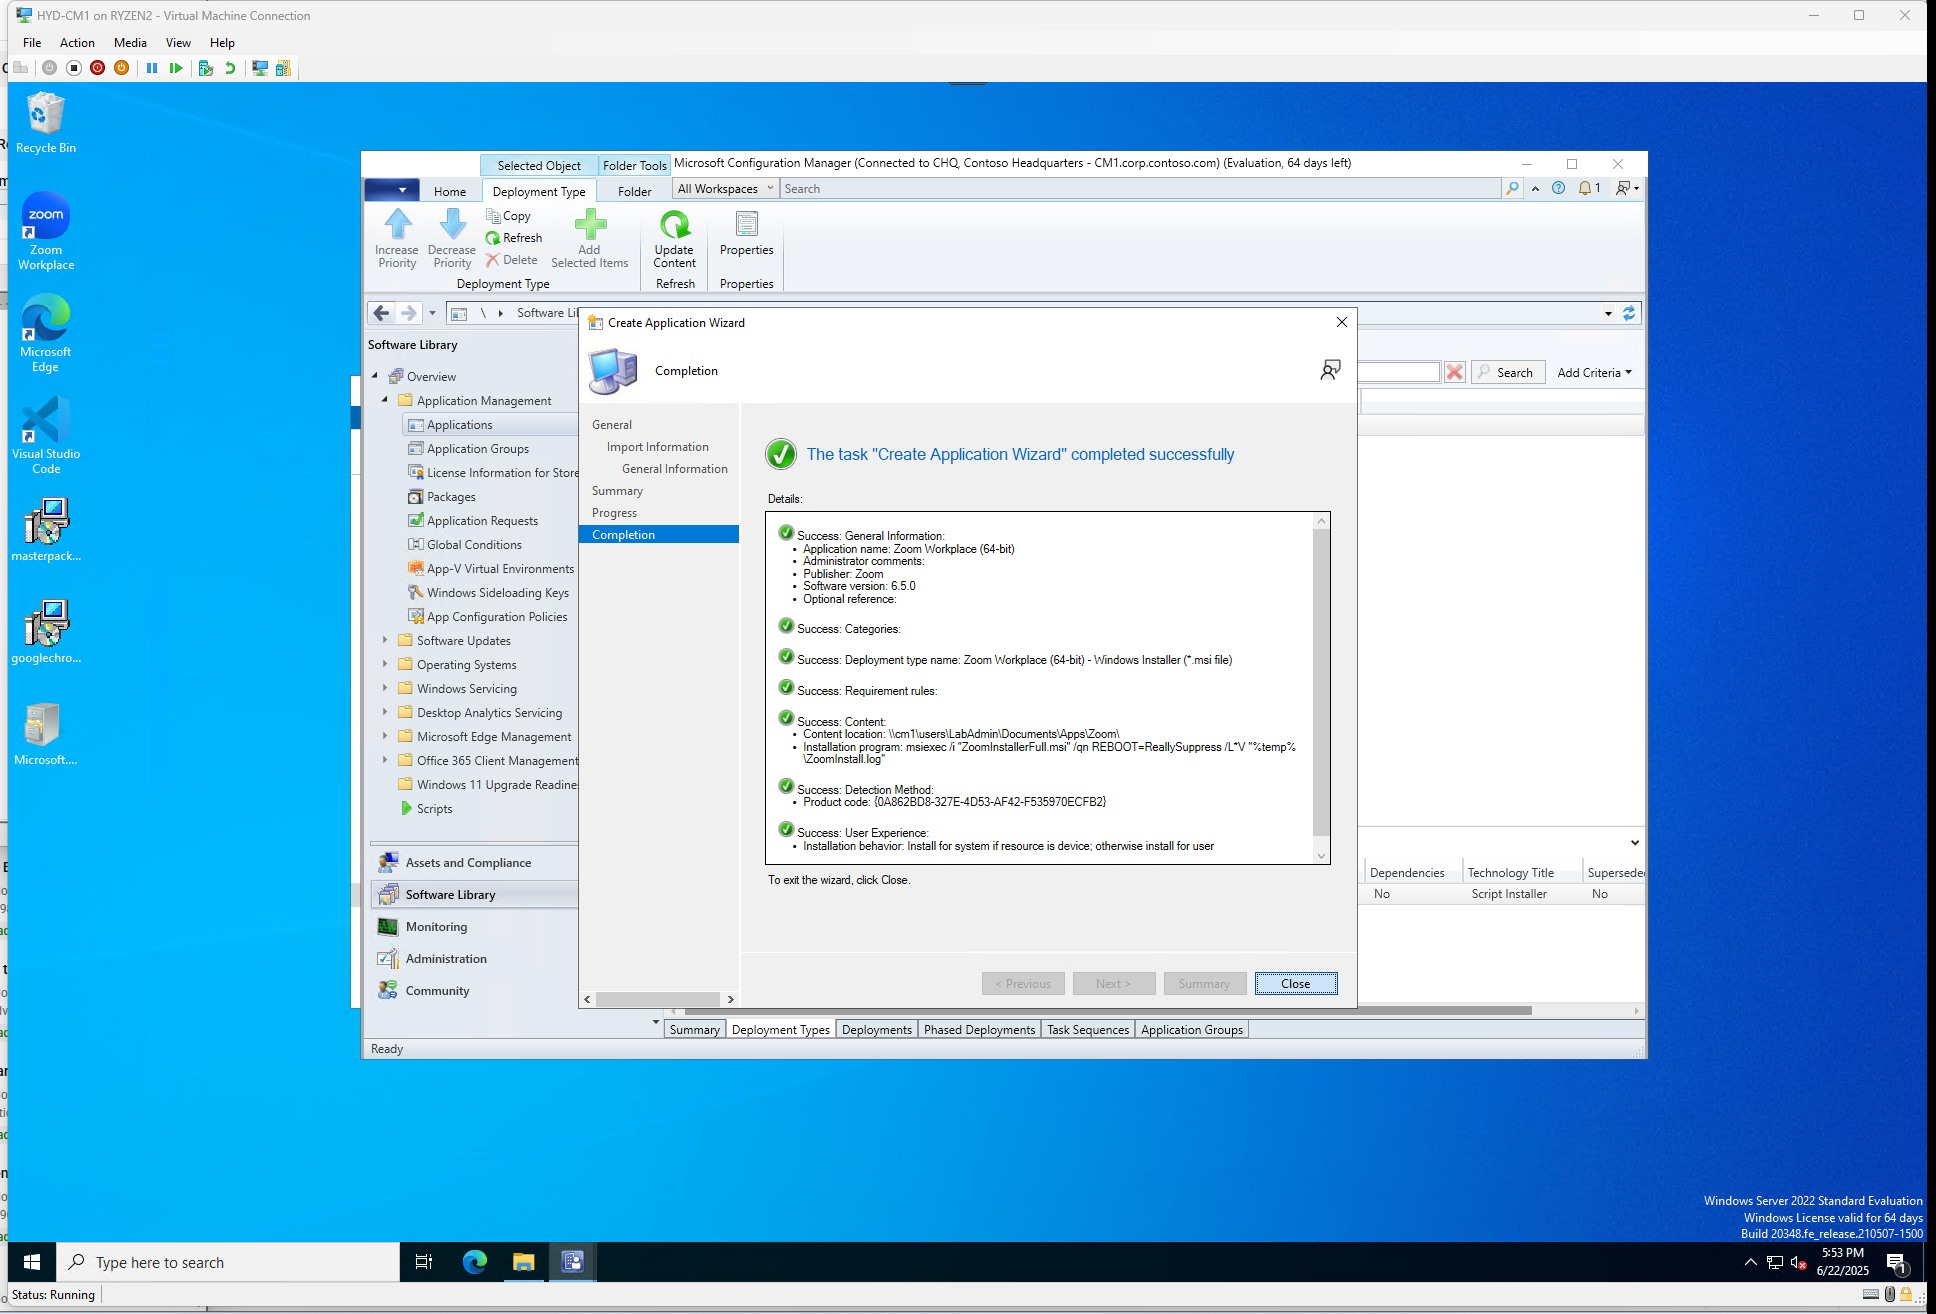
I added /qn REBOOT=ReallySuppress /L*V "%temp%\ZoomInstall.log" for additionally loggingClick next to confirm settingsClick close to finalize creation of the application
Now this is where the fun begins after creating the application. We are going to configure the user experience and/or actions of the applications.
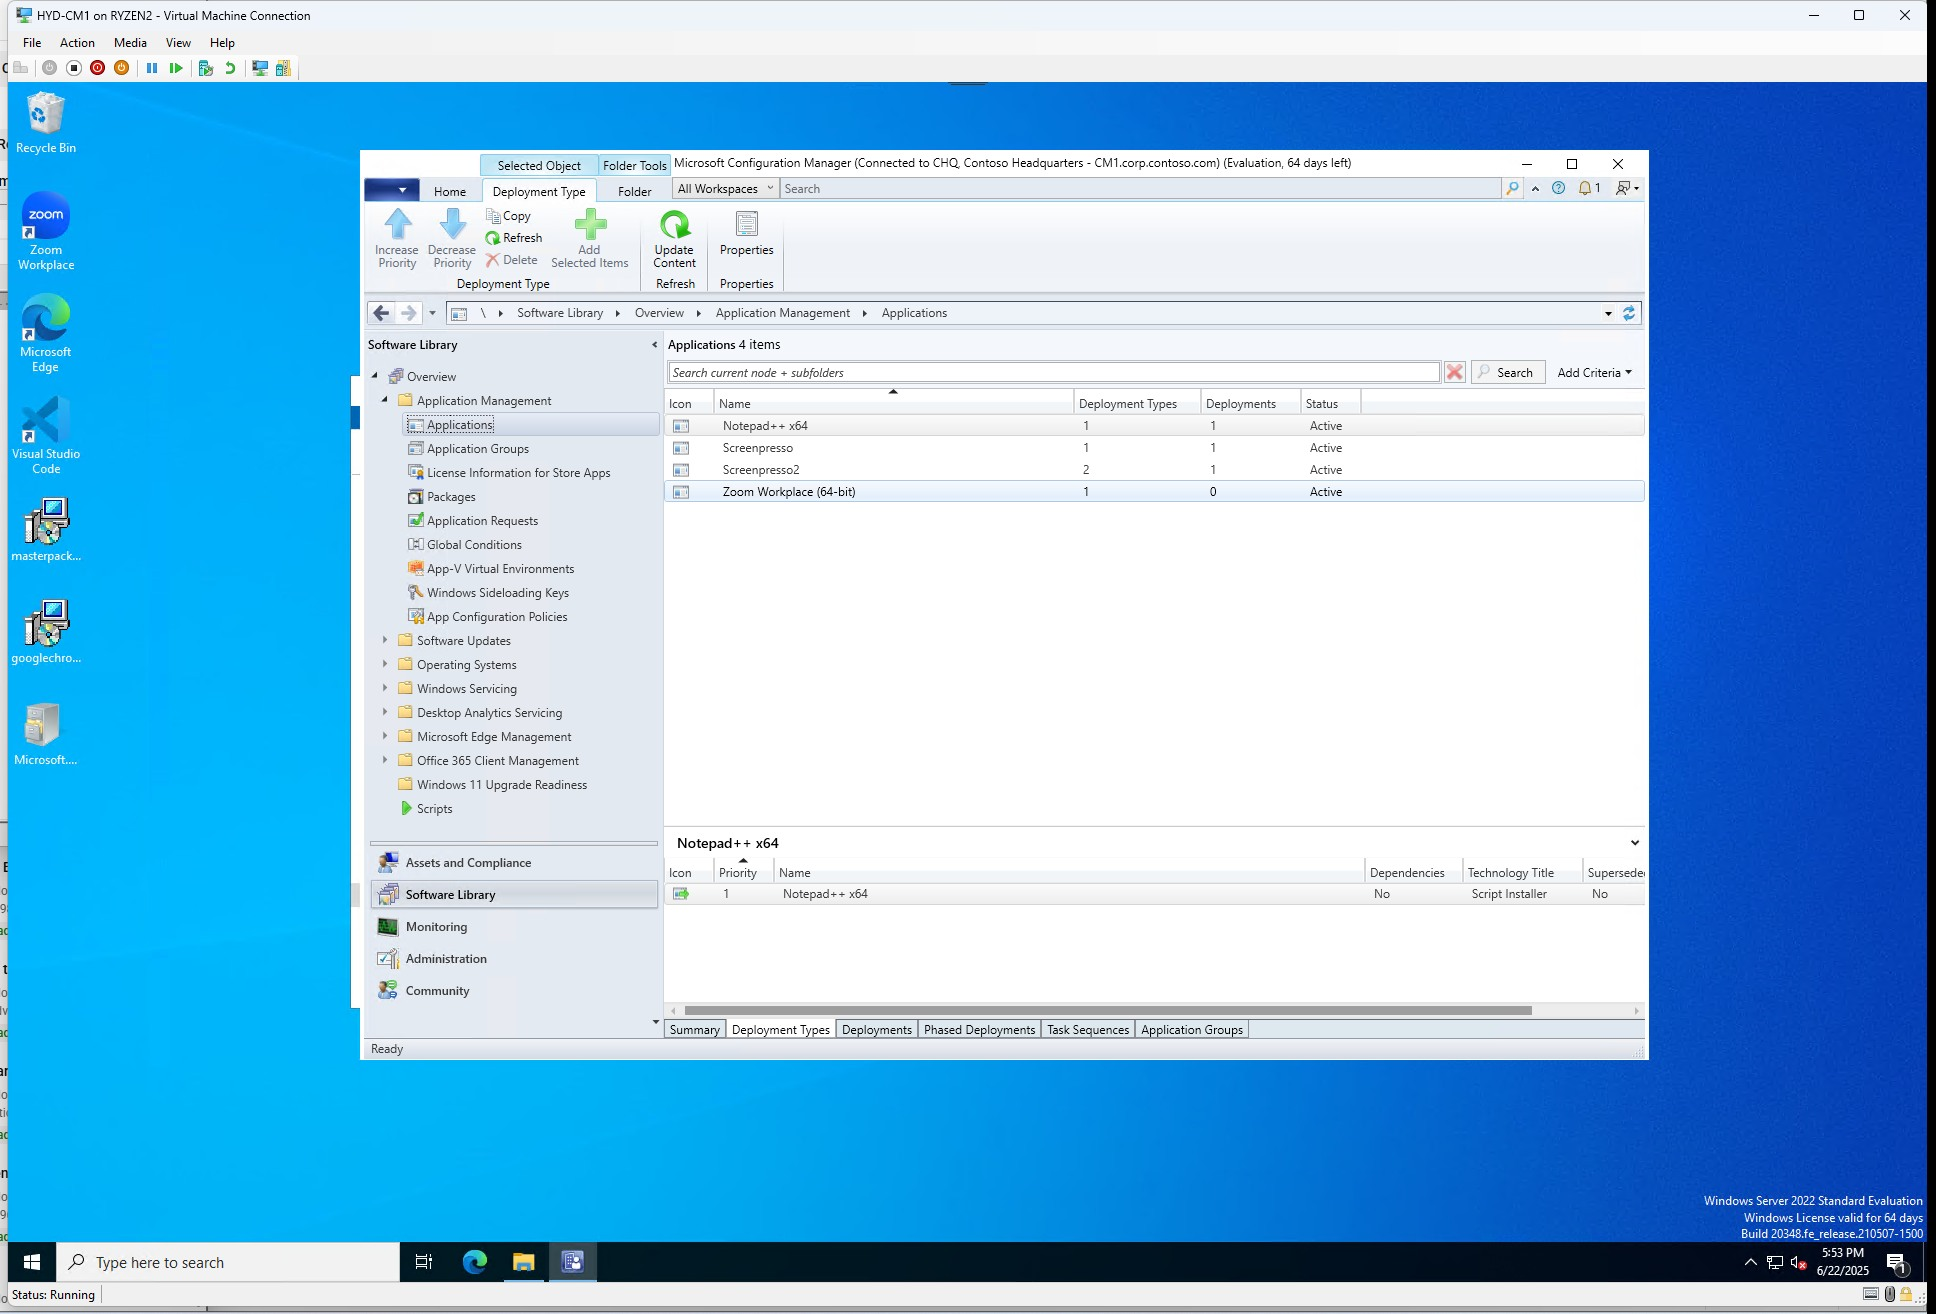
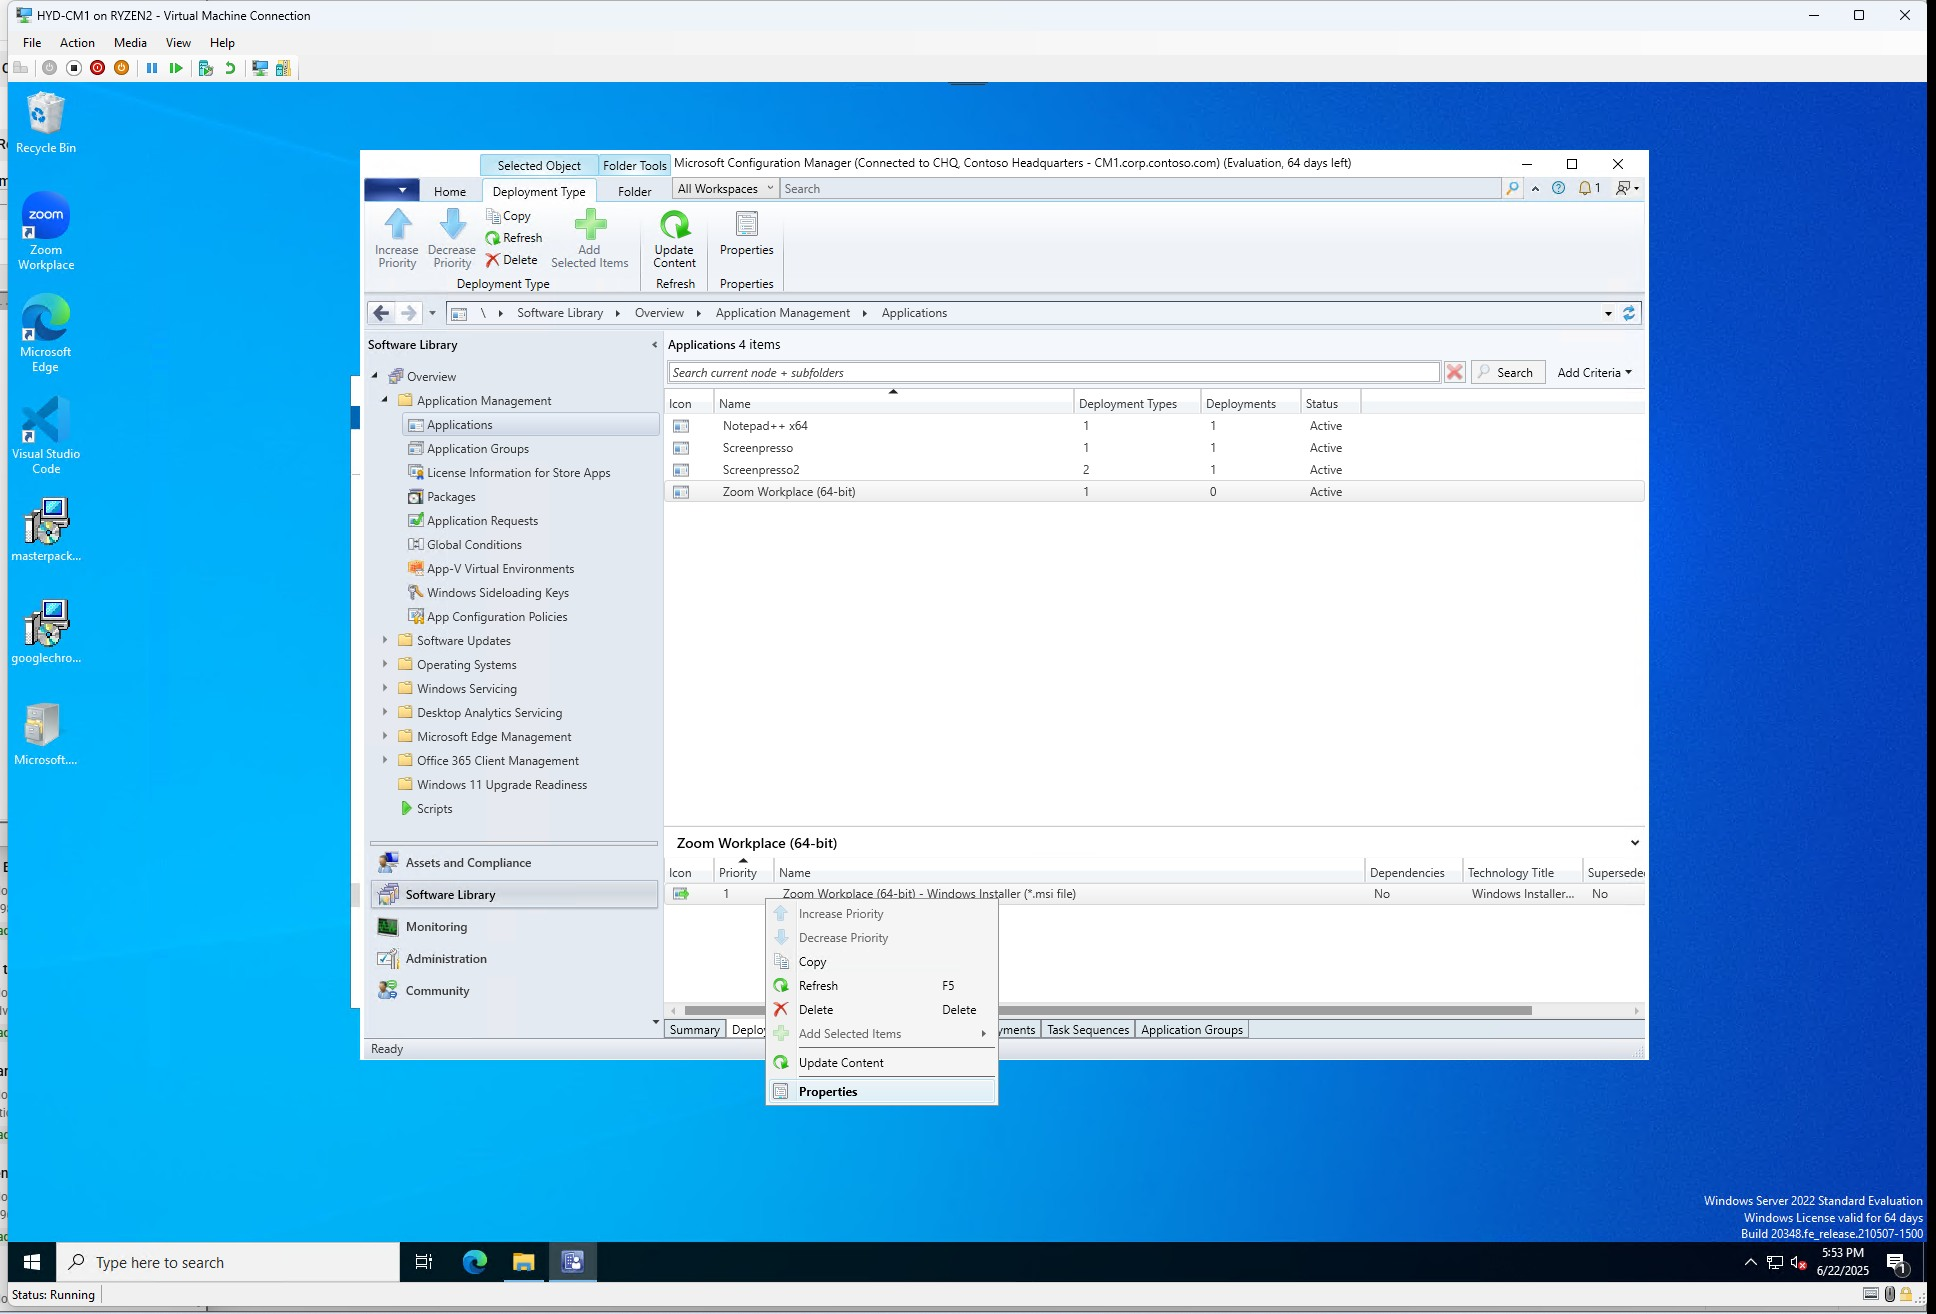
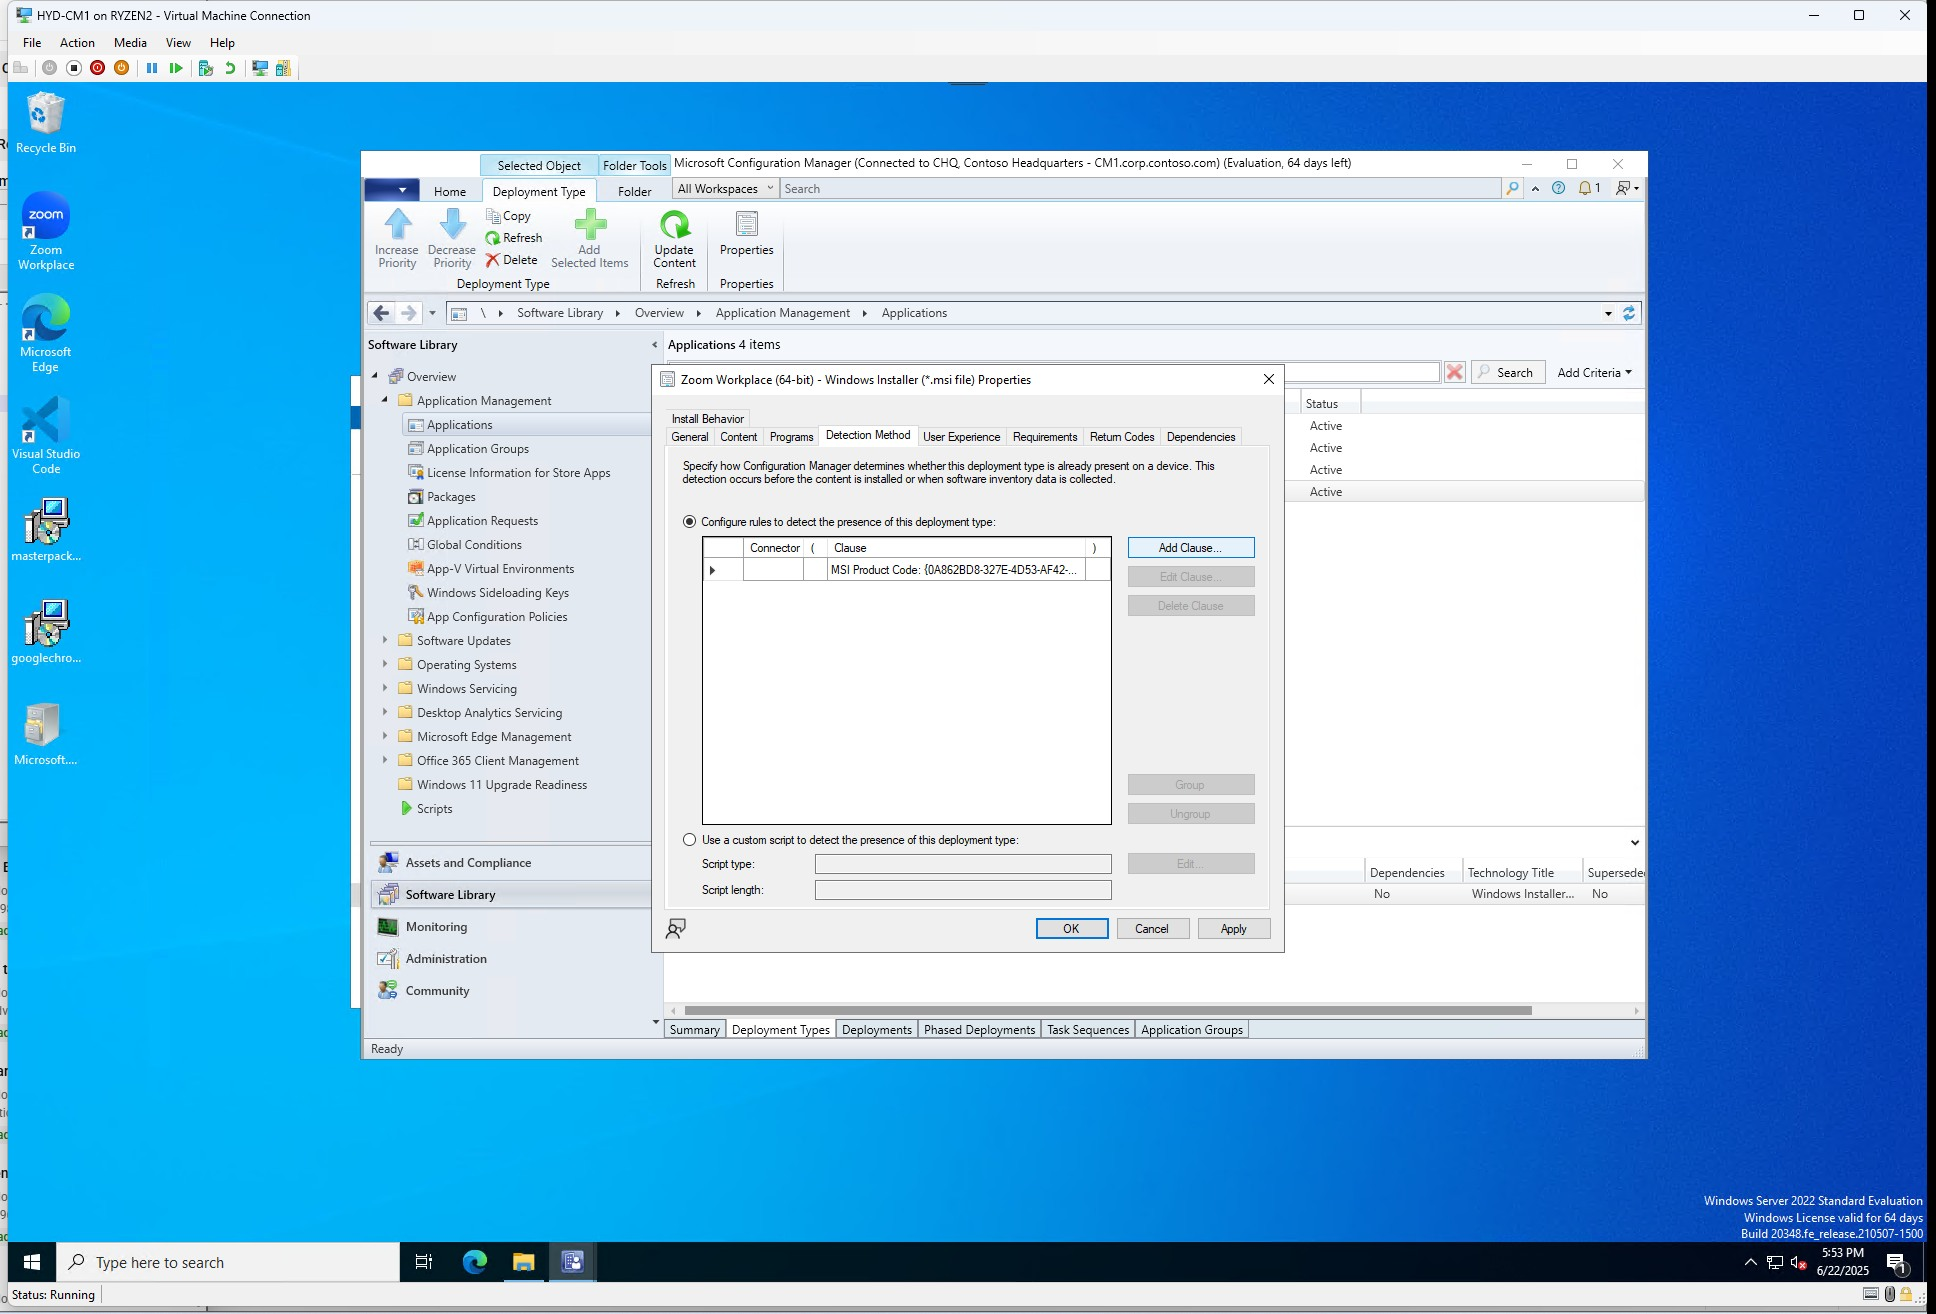
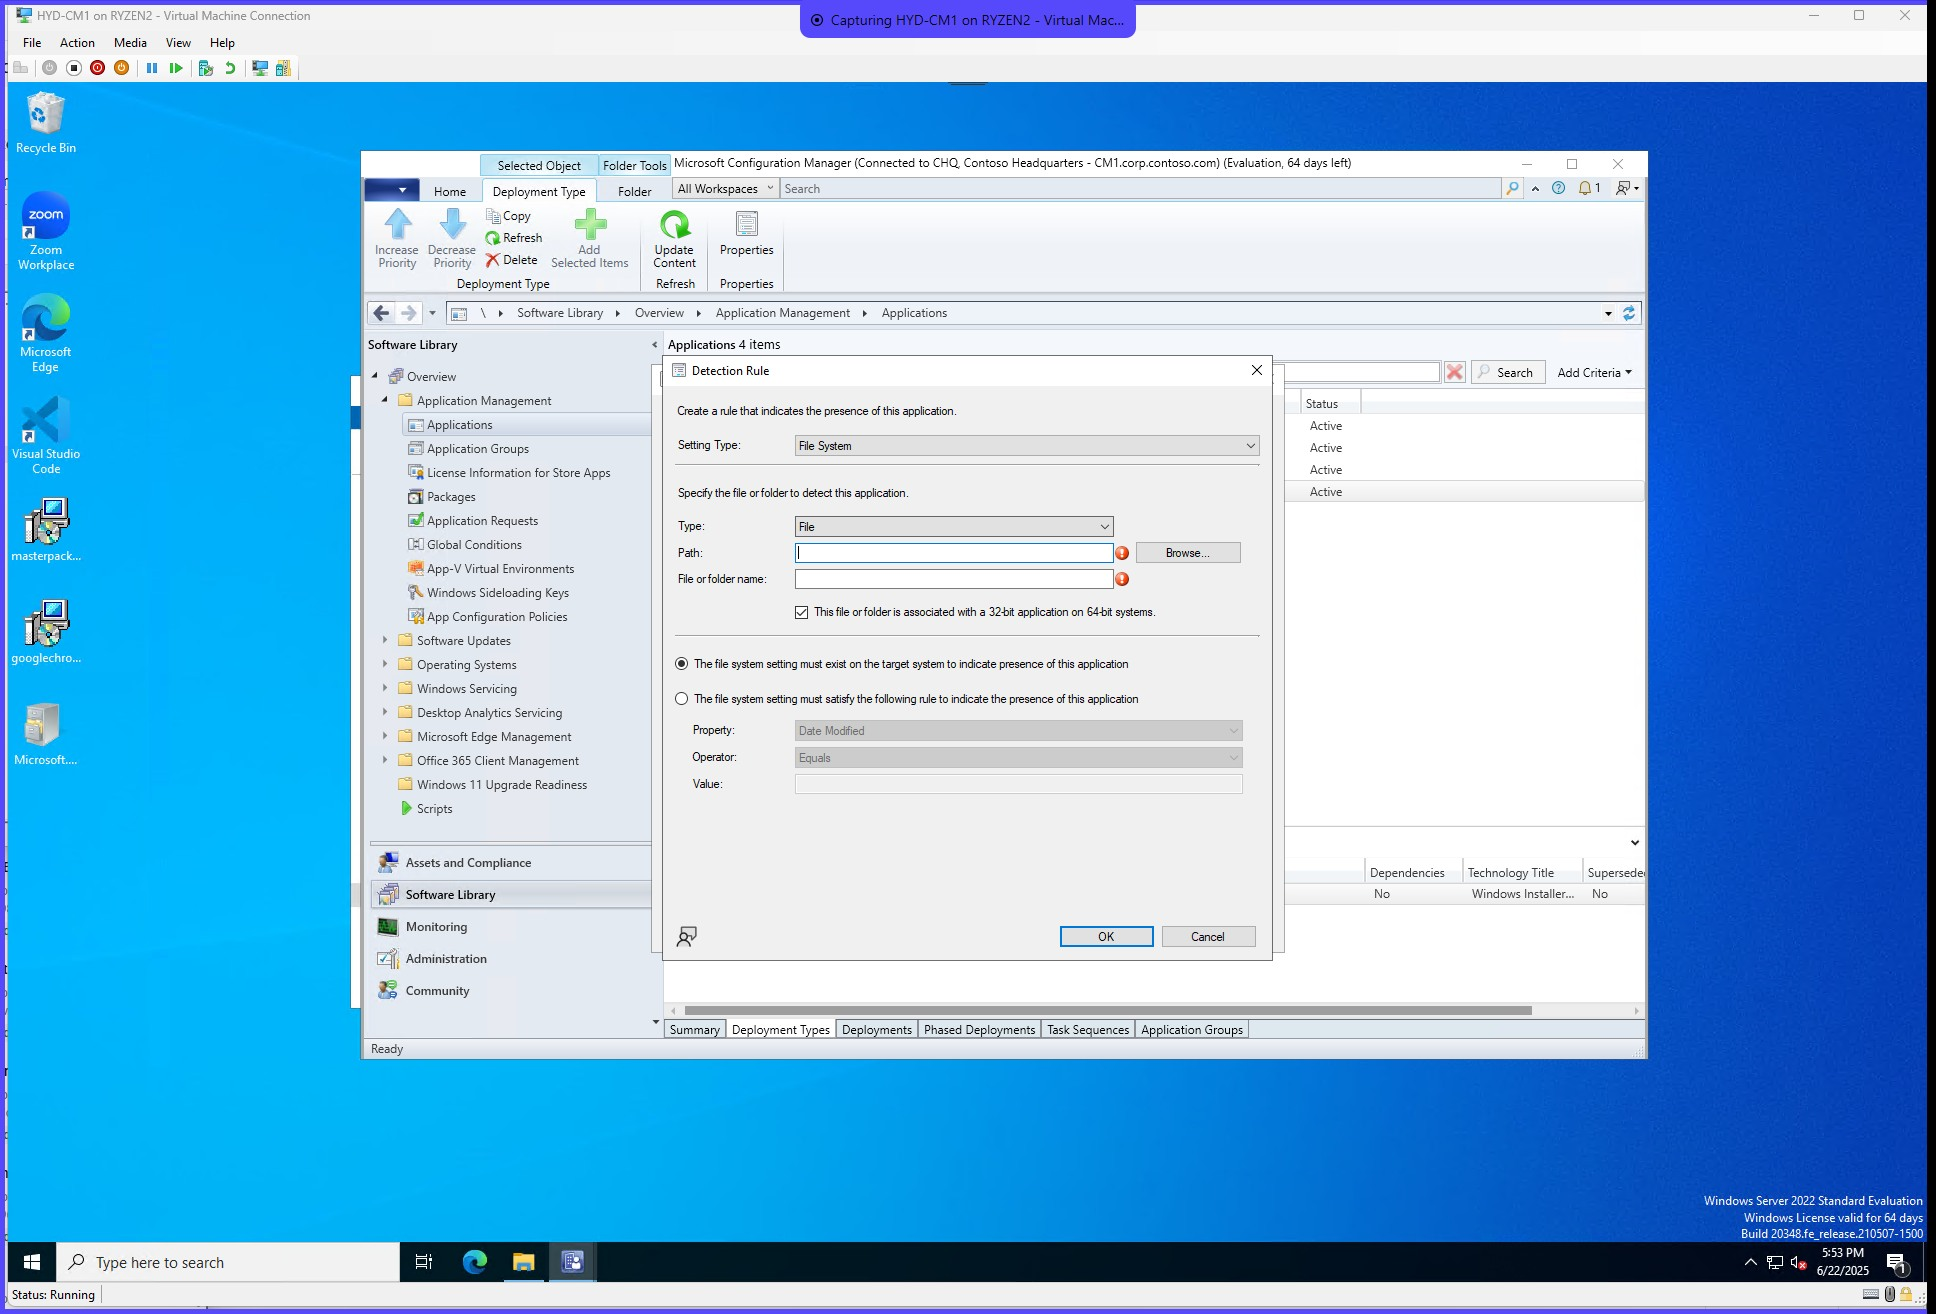
Click on the applicationRight-Click application within Deployment Types at the bottomClick on propertiesVerify Content location for install/uninstall, we will change deployment options later in this blogVerify Programs settings for install/uninstall. Add "ZoomInstallerFull.msi" to allow users to repair programBy fault it will fill in a clause for Detection Method. We will also add our own for an "or" statement. I do this just incase.Choose File System as setting type, Type = File, Path= C:\Program Files\Zoom\Bin, File=Zoom.exe. This will vary depending on the application on what you want to do for detection. Make sure to change the Connector rule from AND to Or for this. Additonally you can add your own custom script or change the detection type to a registry key entry or windows installer.
User experience will again vary on how the application you are installing will behave. Most of the time my installation behavior is Install for system, Whether or not a user is logged on and Normal.
Change Max allowed run time to 15 minutes. Default is 120 minutes but it's a quick install. For something like AutoCAD this may need to be 60 minutes.
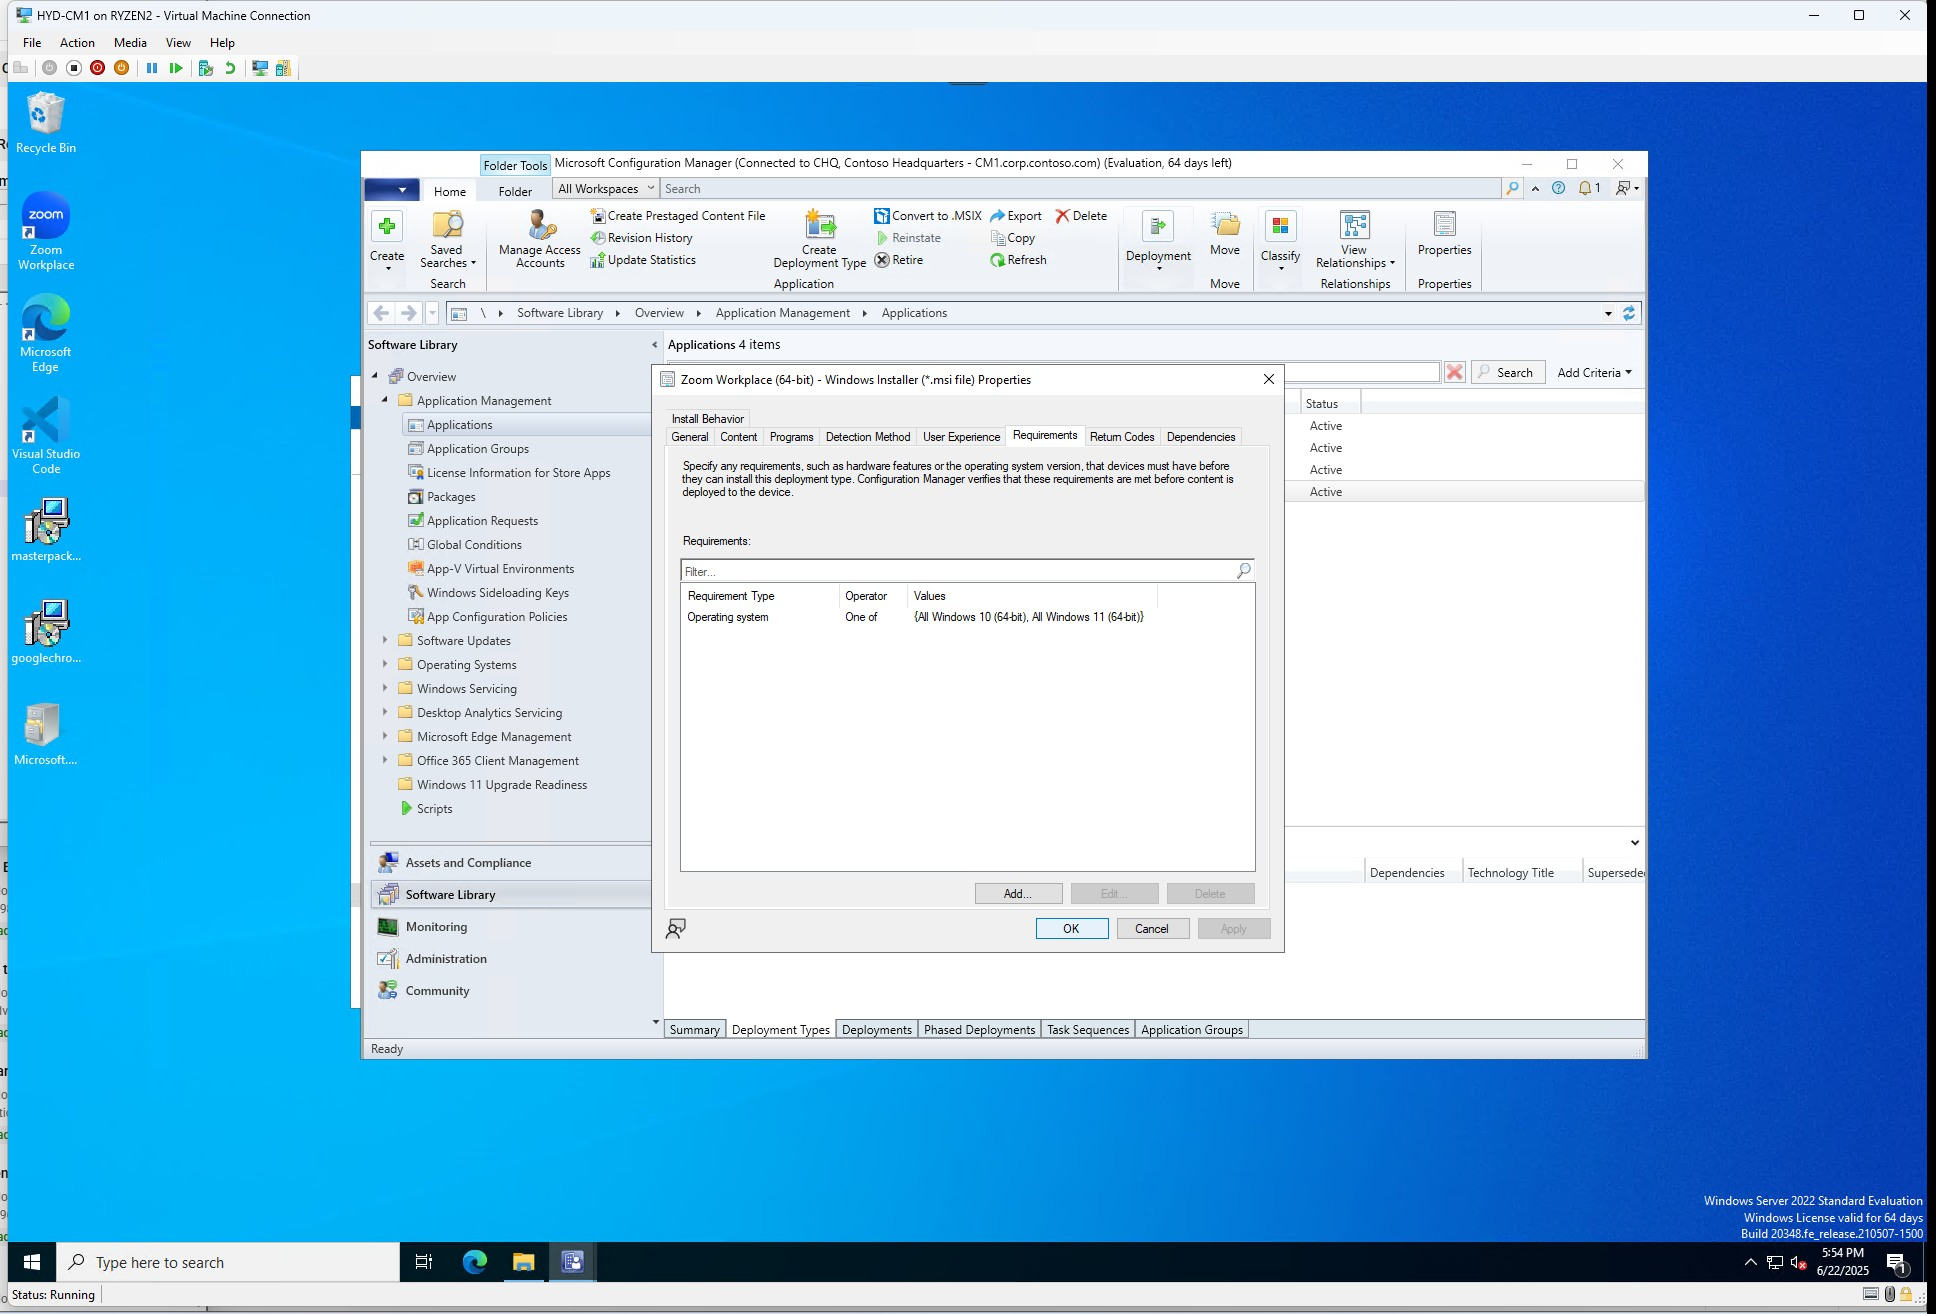
If you have specific requirements of the application to install this is where you where specify them. Categories are user, device or custom.
Specify Operating System and is one of the following: Windows 10/11 (64-bit)Click Apply > Ok
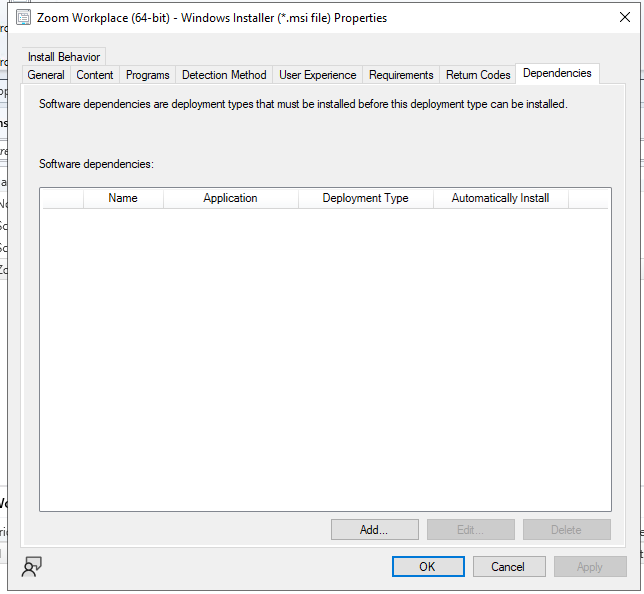
If you have a dependency you would add it here for example when I deploy the Argus Enterprise excel add-in program I would add Argus Enterprise Full Installer as the dependency since the add-in would need the full application installed prior to working.
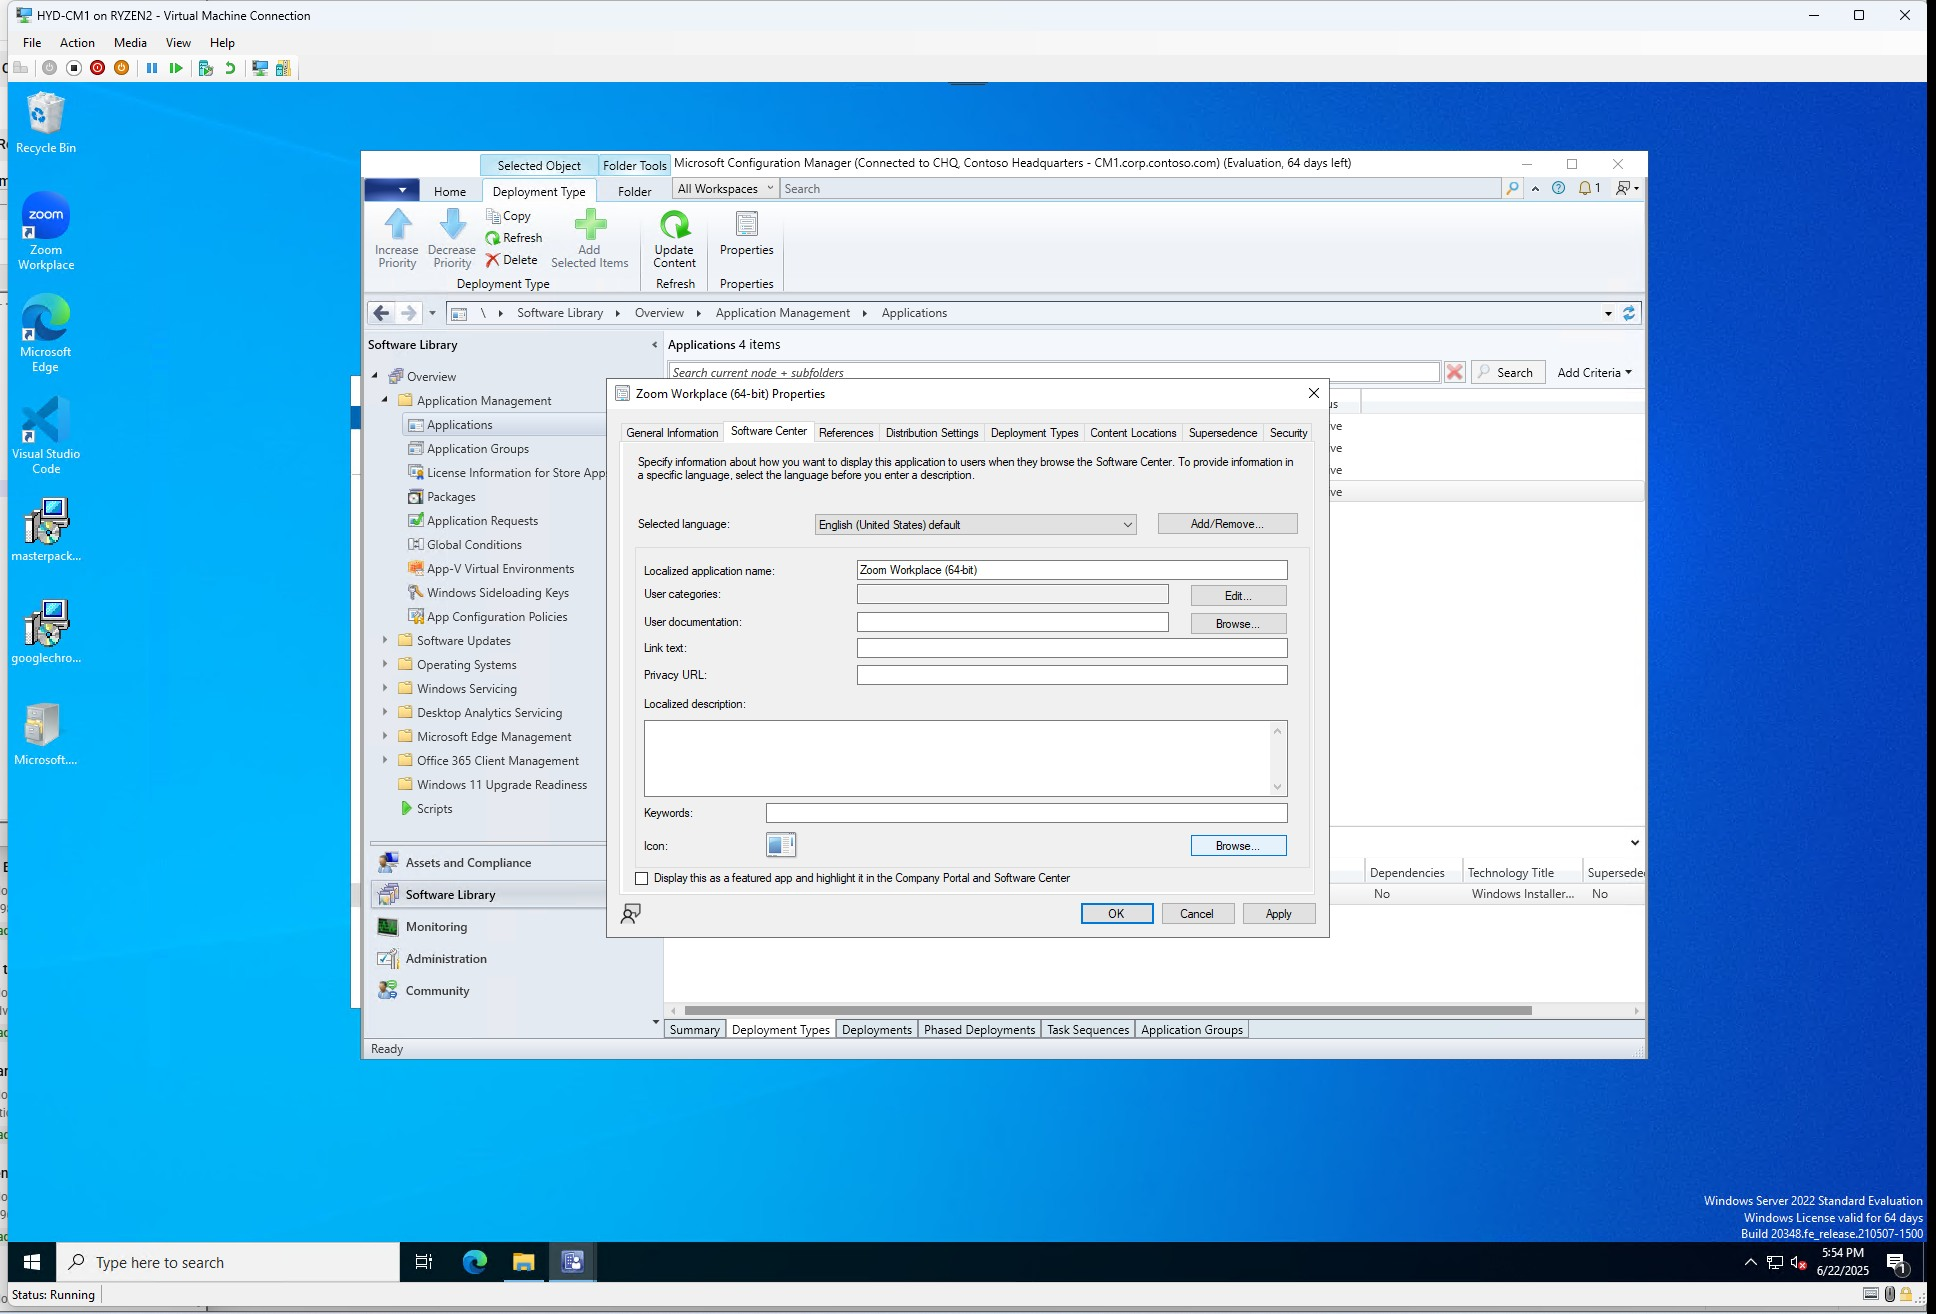
Now we will work on Software Center properties
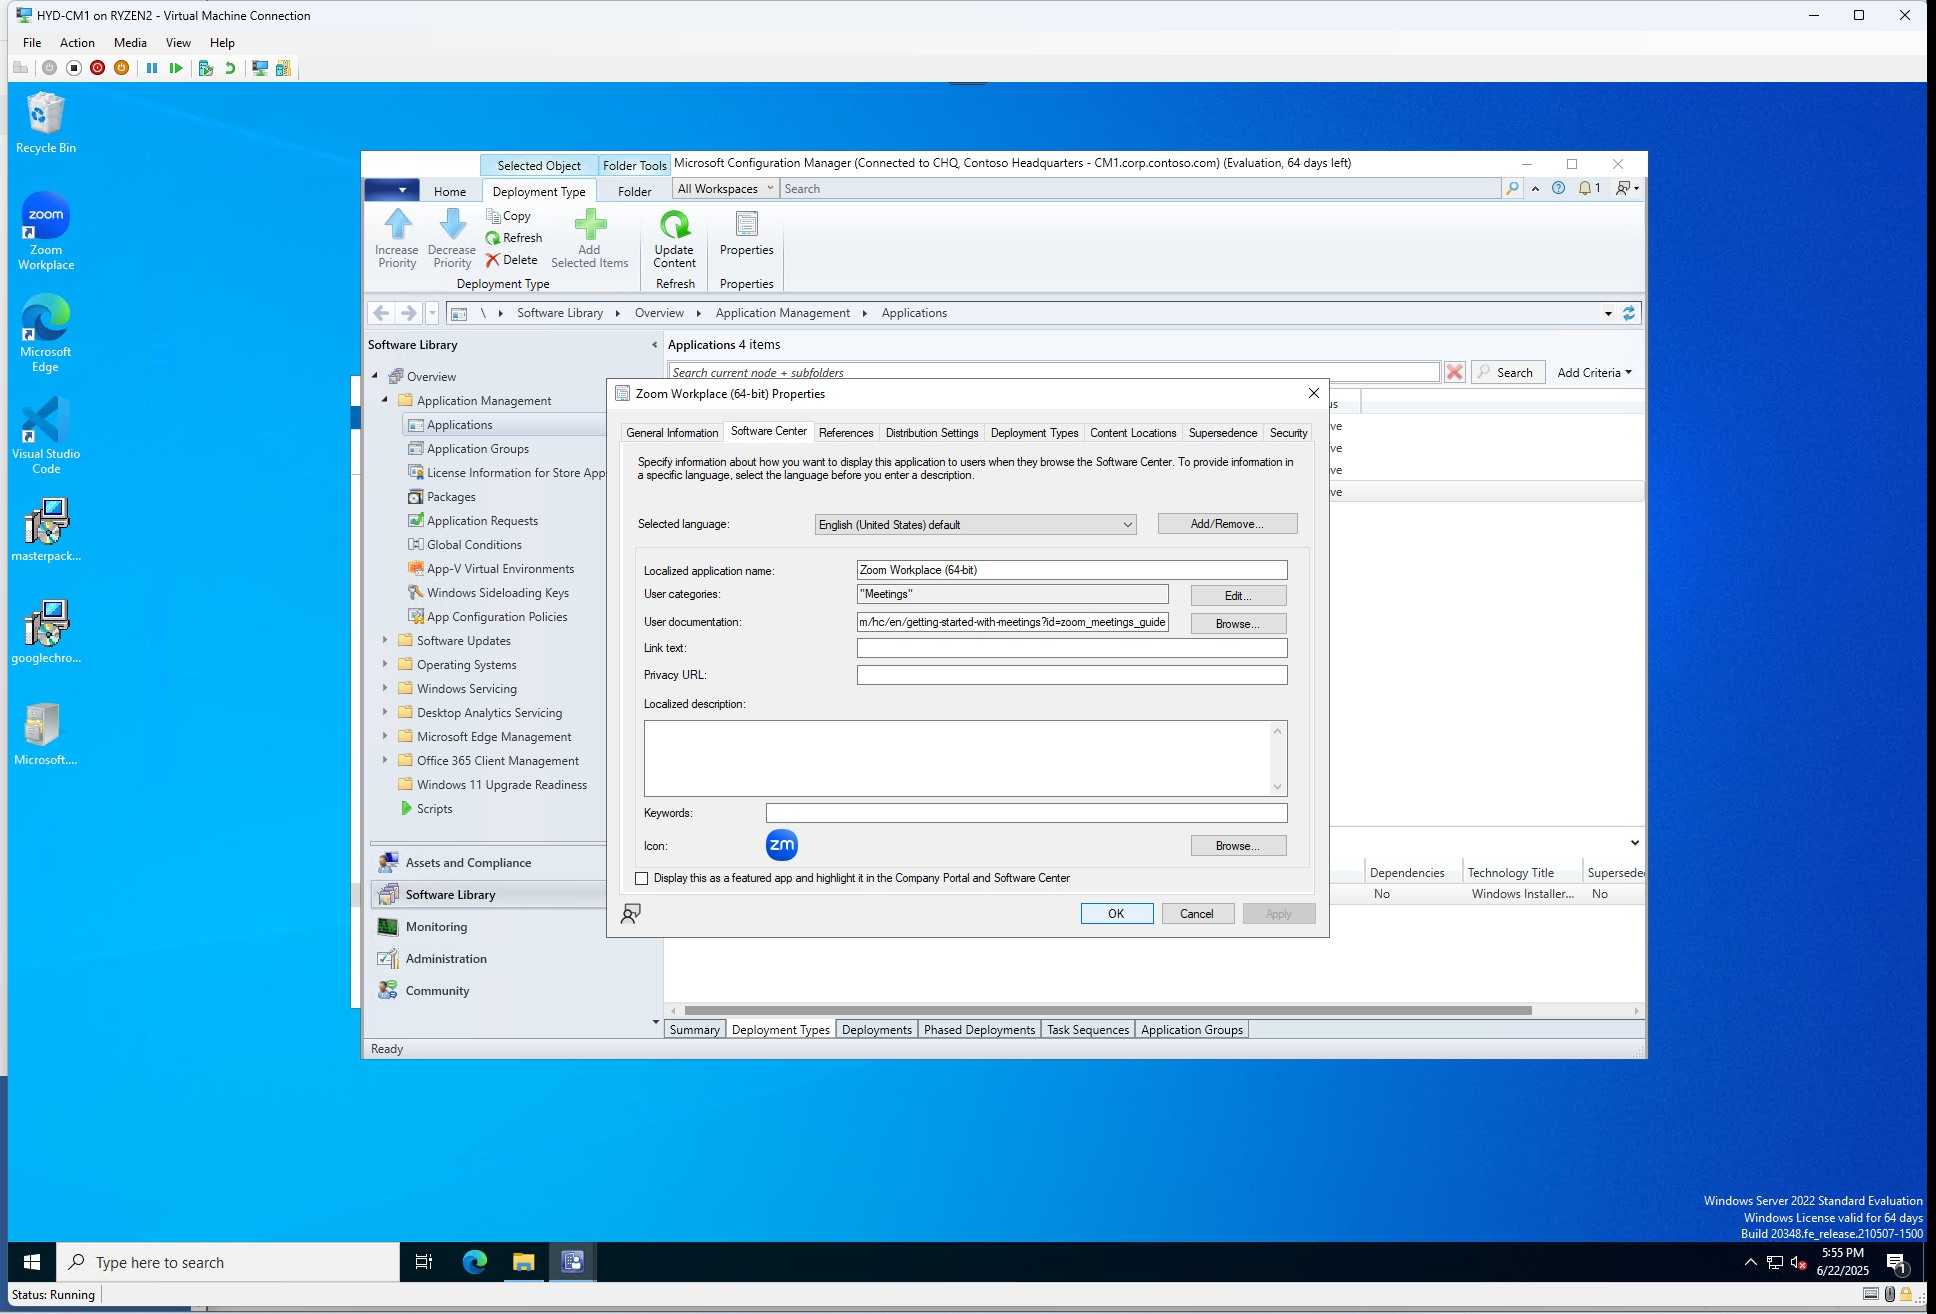
Right-Click the application name > PropertiesAdd to a User Category (ex. Virtual Meetings), add URL's for vendor documentation or privacy info. We will add an icon for the Software Center.Now we are going to use the .exe since it almost always has an icon built in but you can add an image icon to the repository to use. Click Browse..Again, I am going to use the .exe > Click file > OpenChoose the icon that is embedded in the .exe > Ok
I am going to add a User Category for Meetings as an example
Next to User categories > Edit..You can create or rename categories Choose Meetings or whatever you wish > OkClick Display this as a featured app if you wish before > Ok to exit
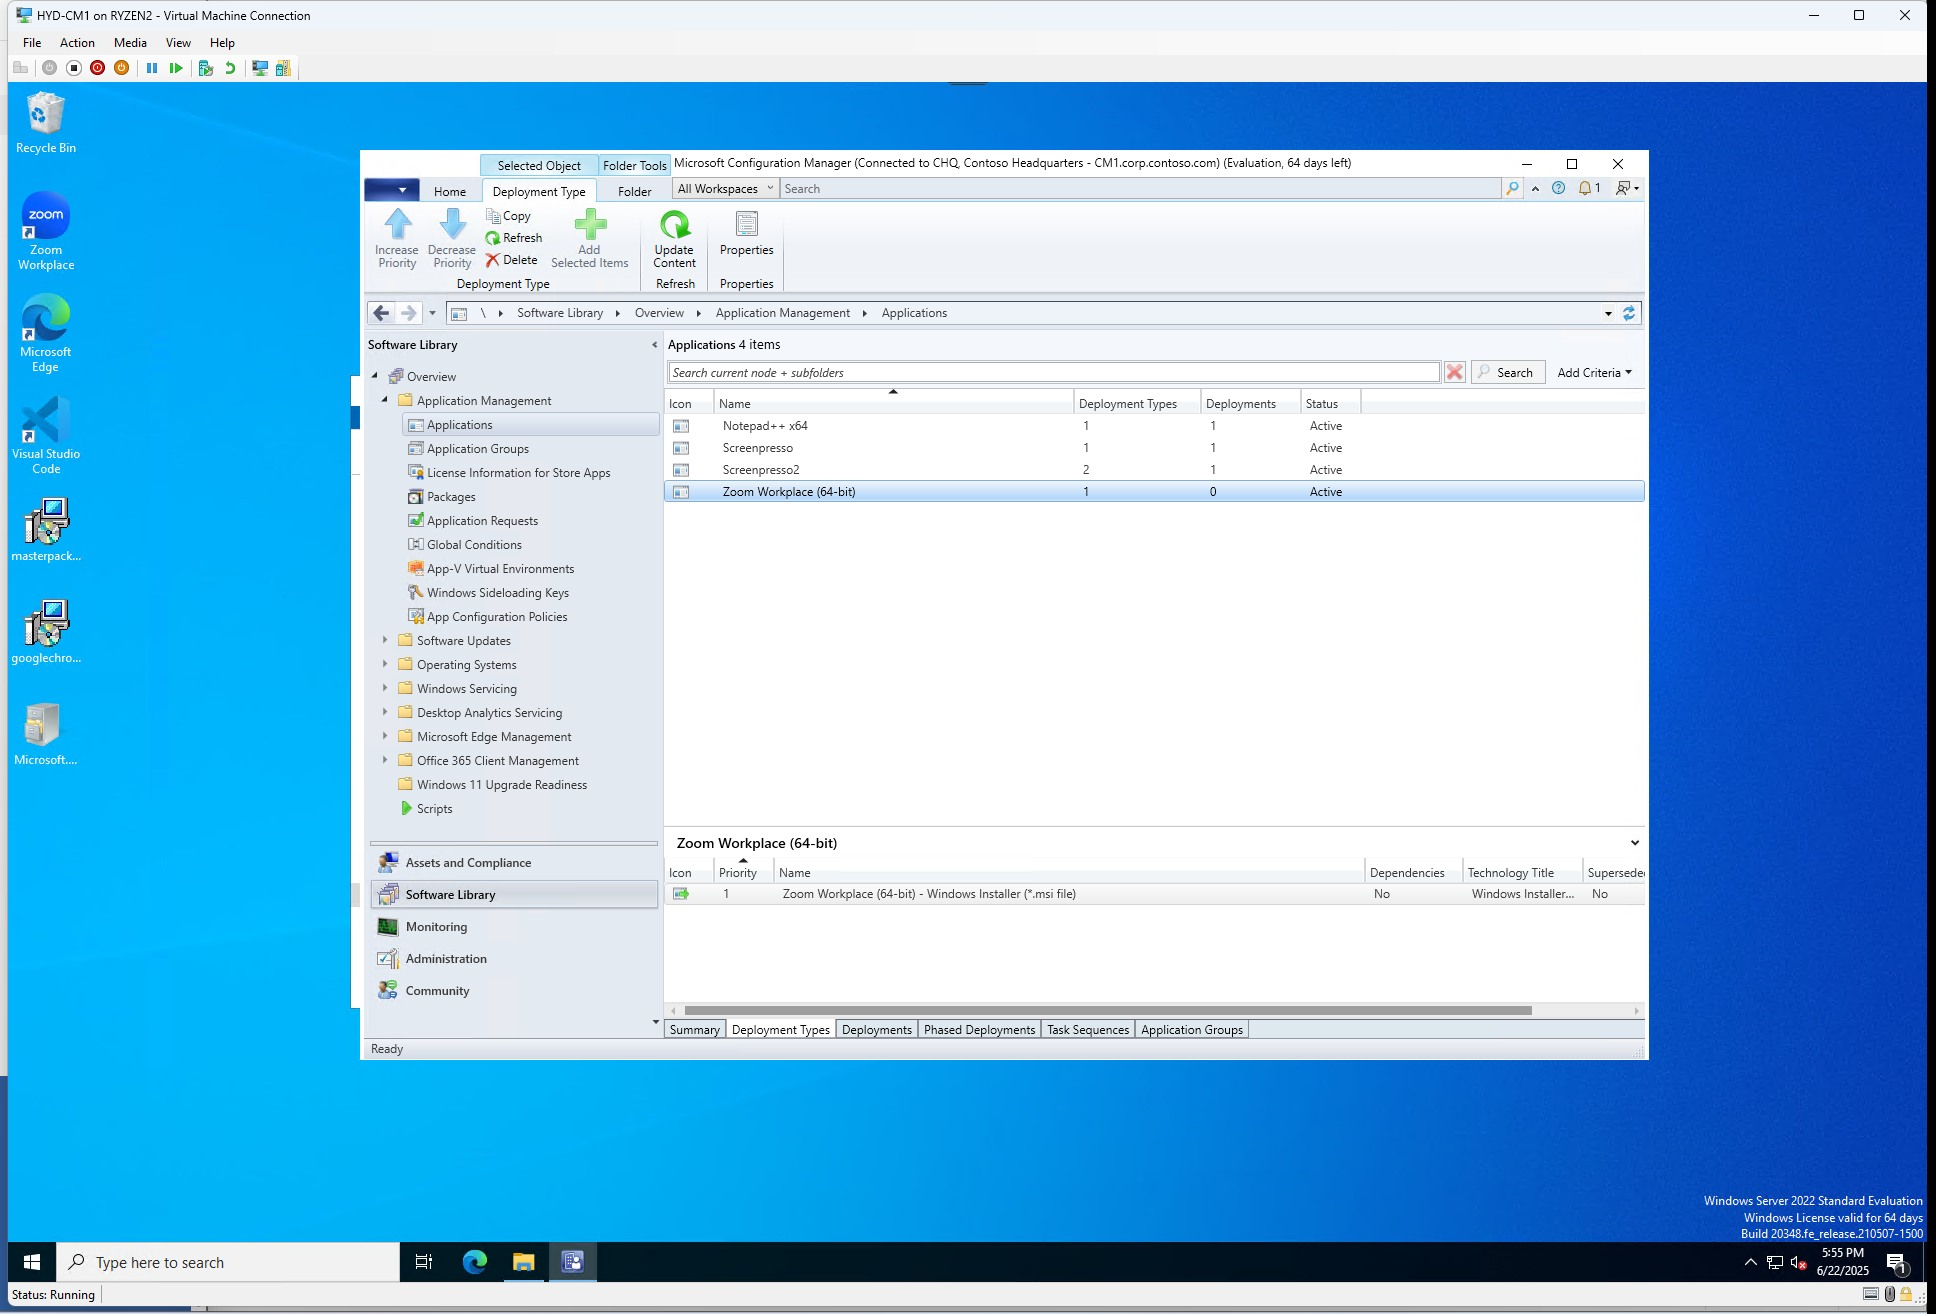
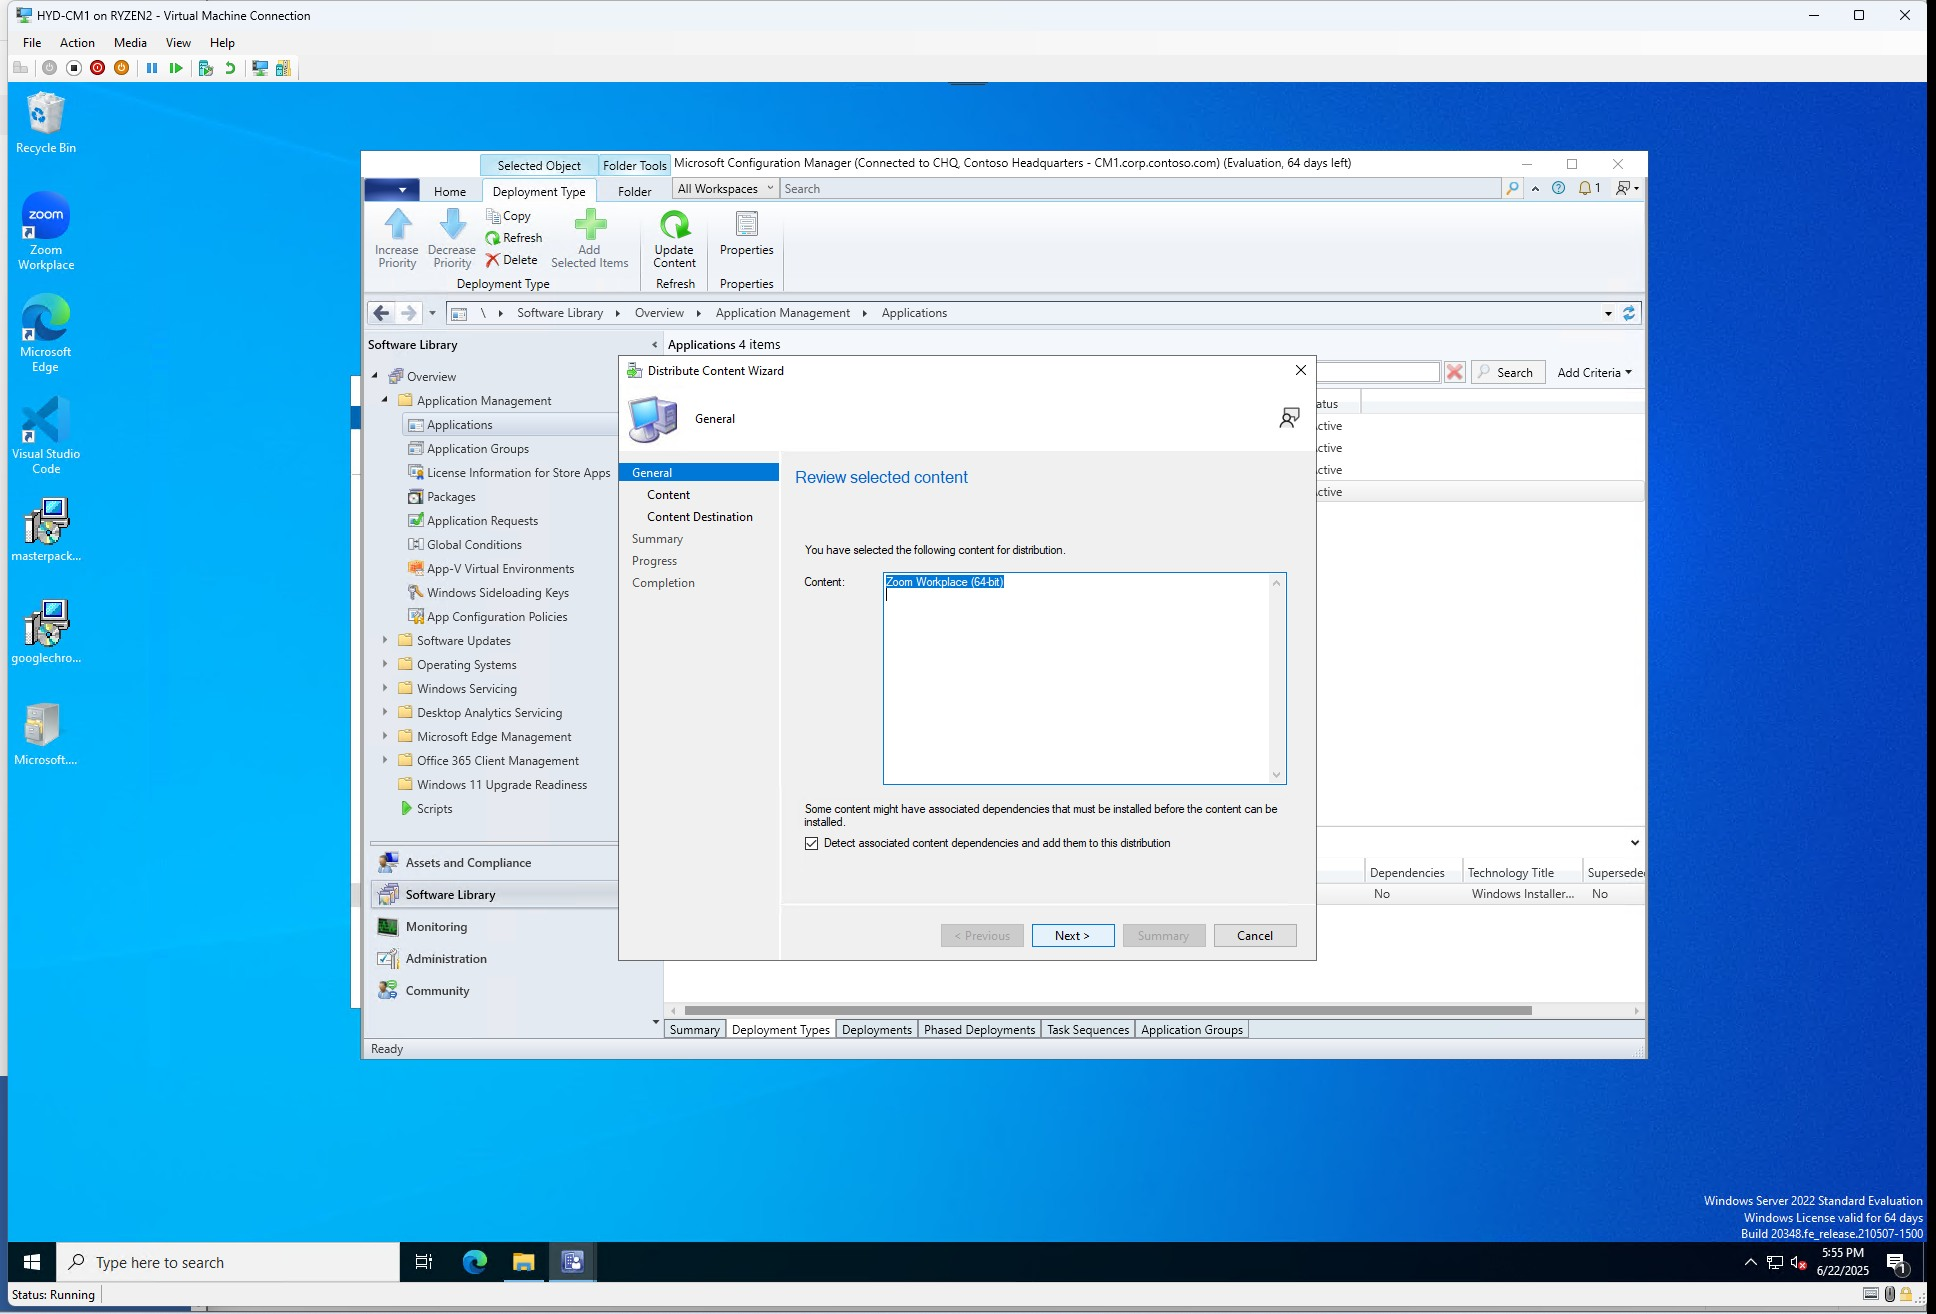
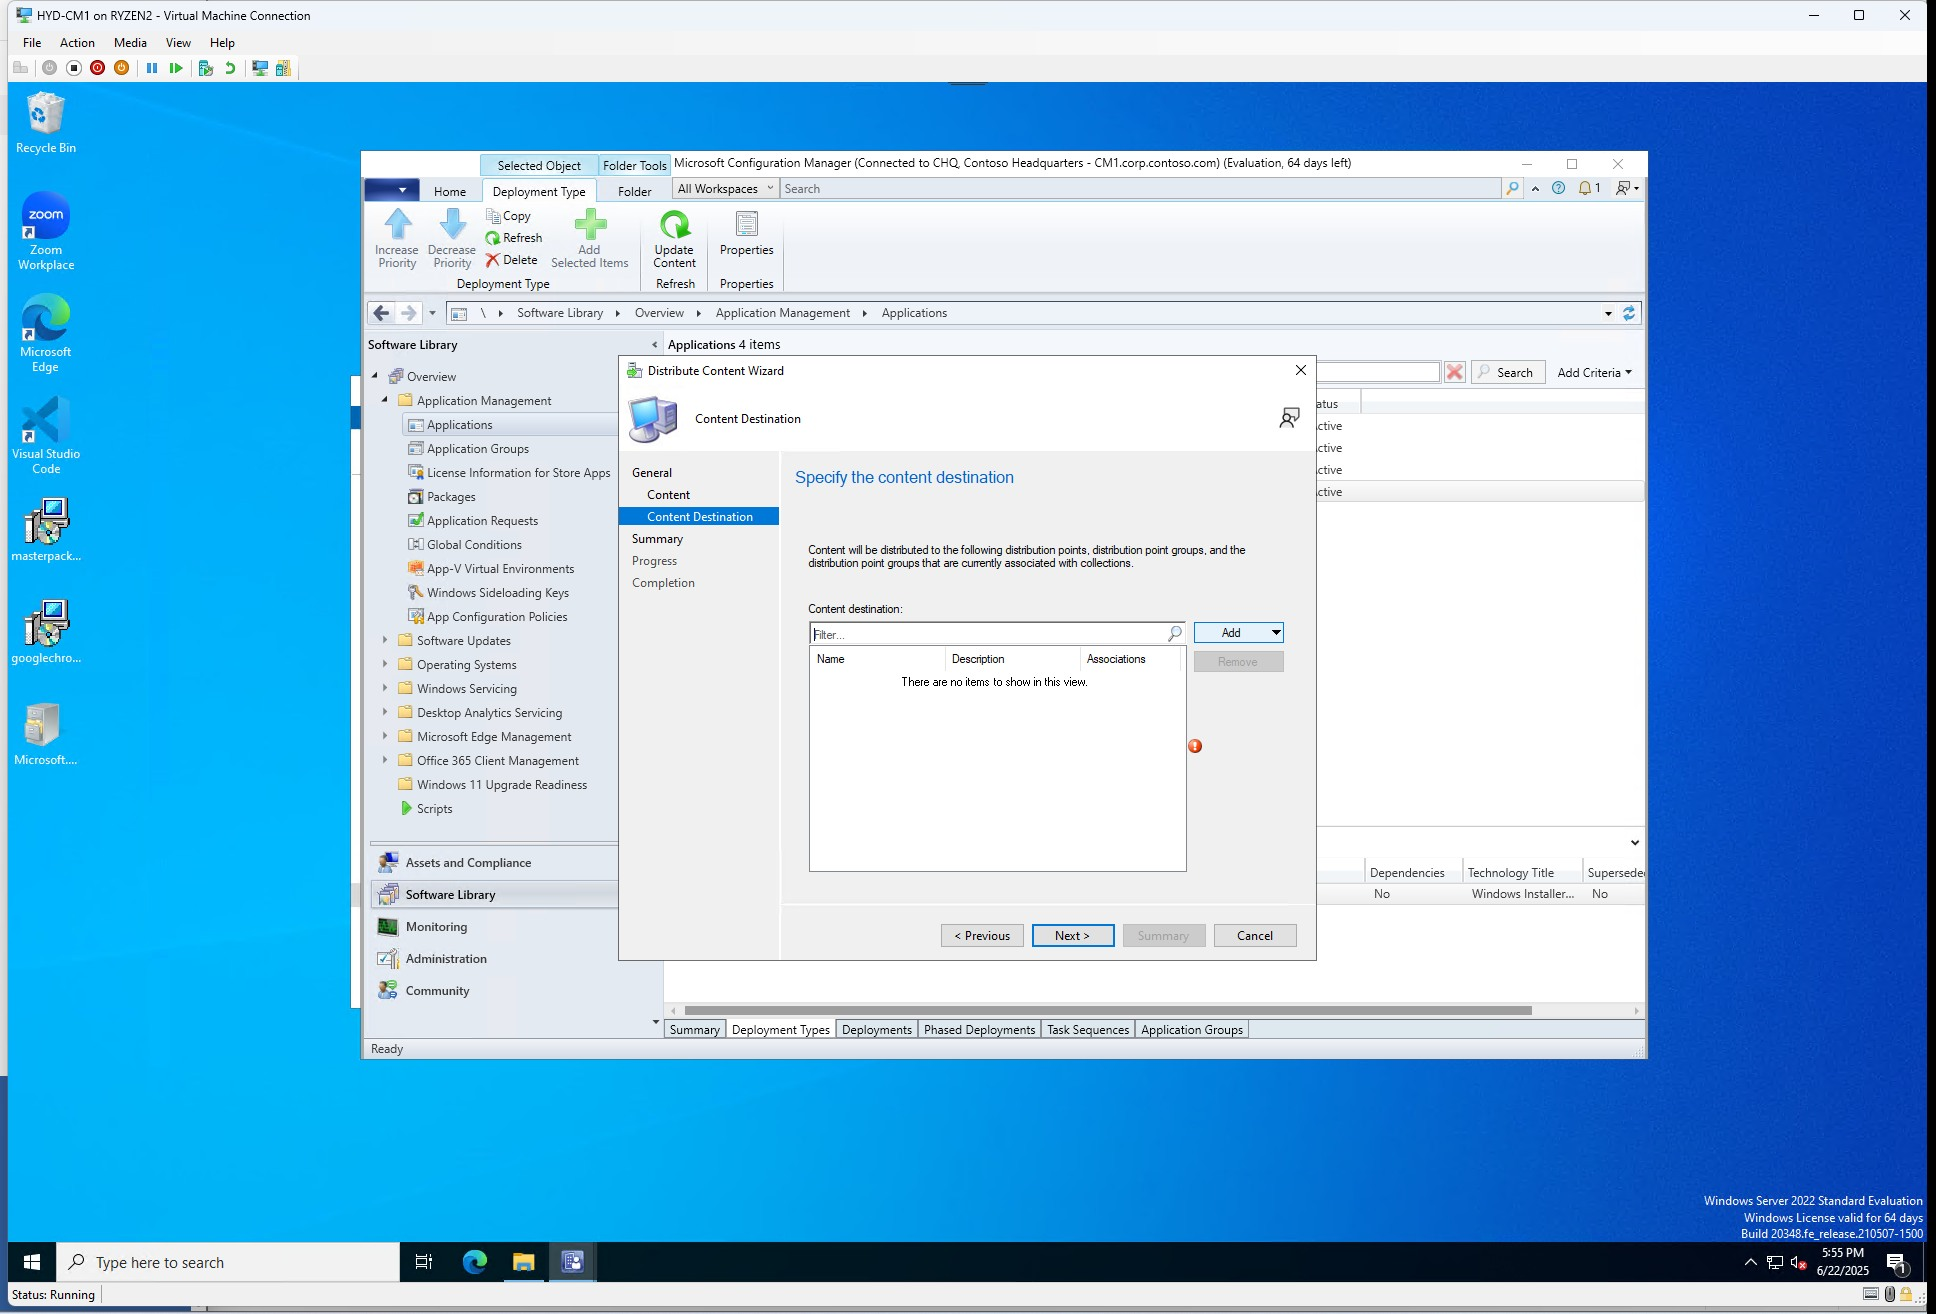
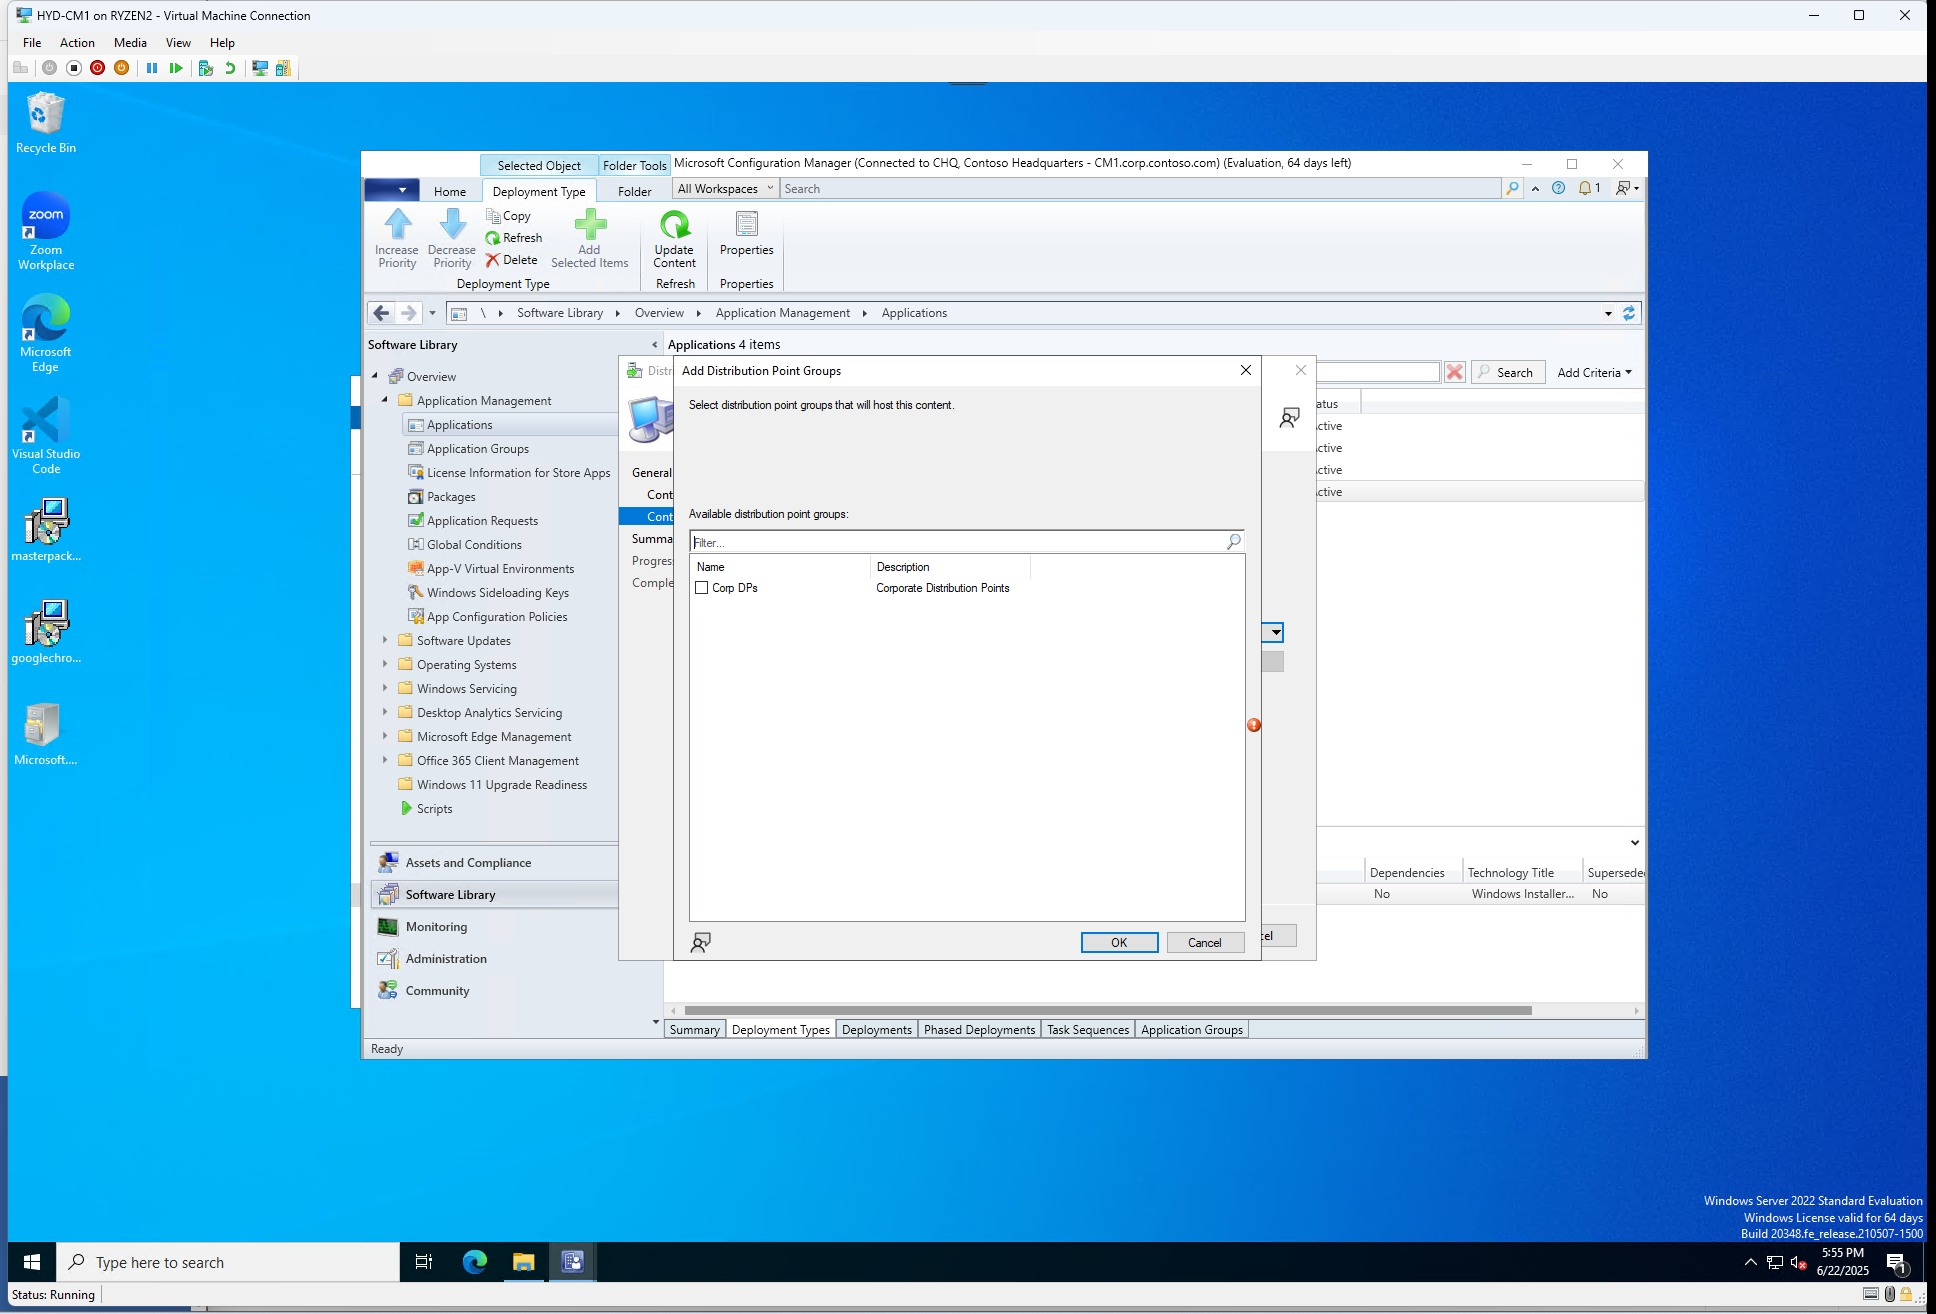
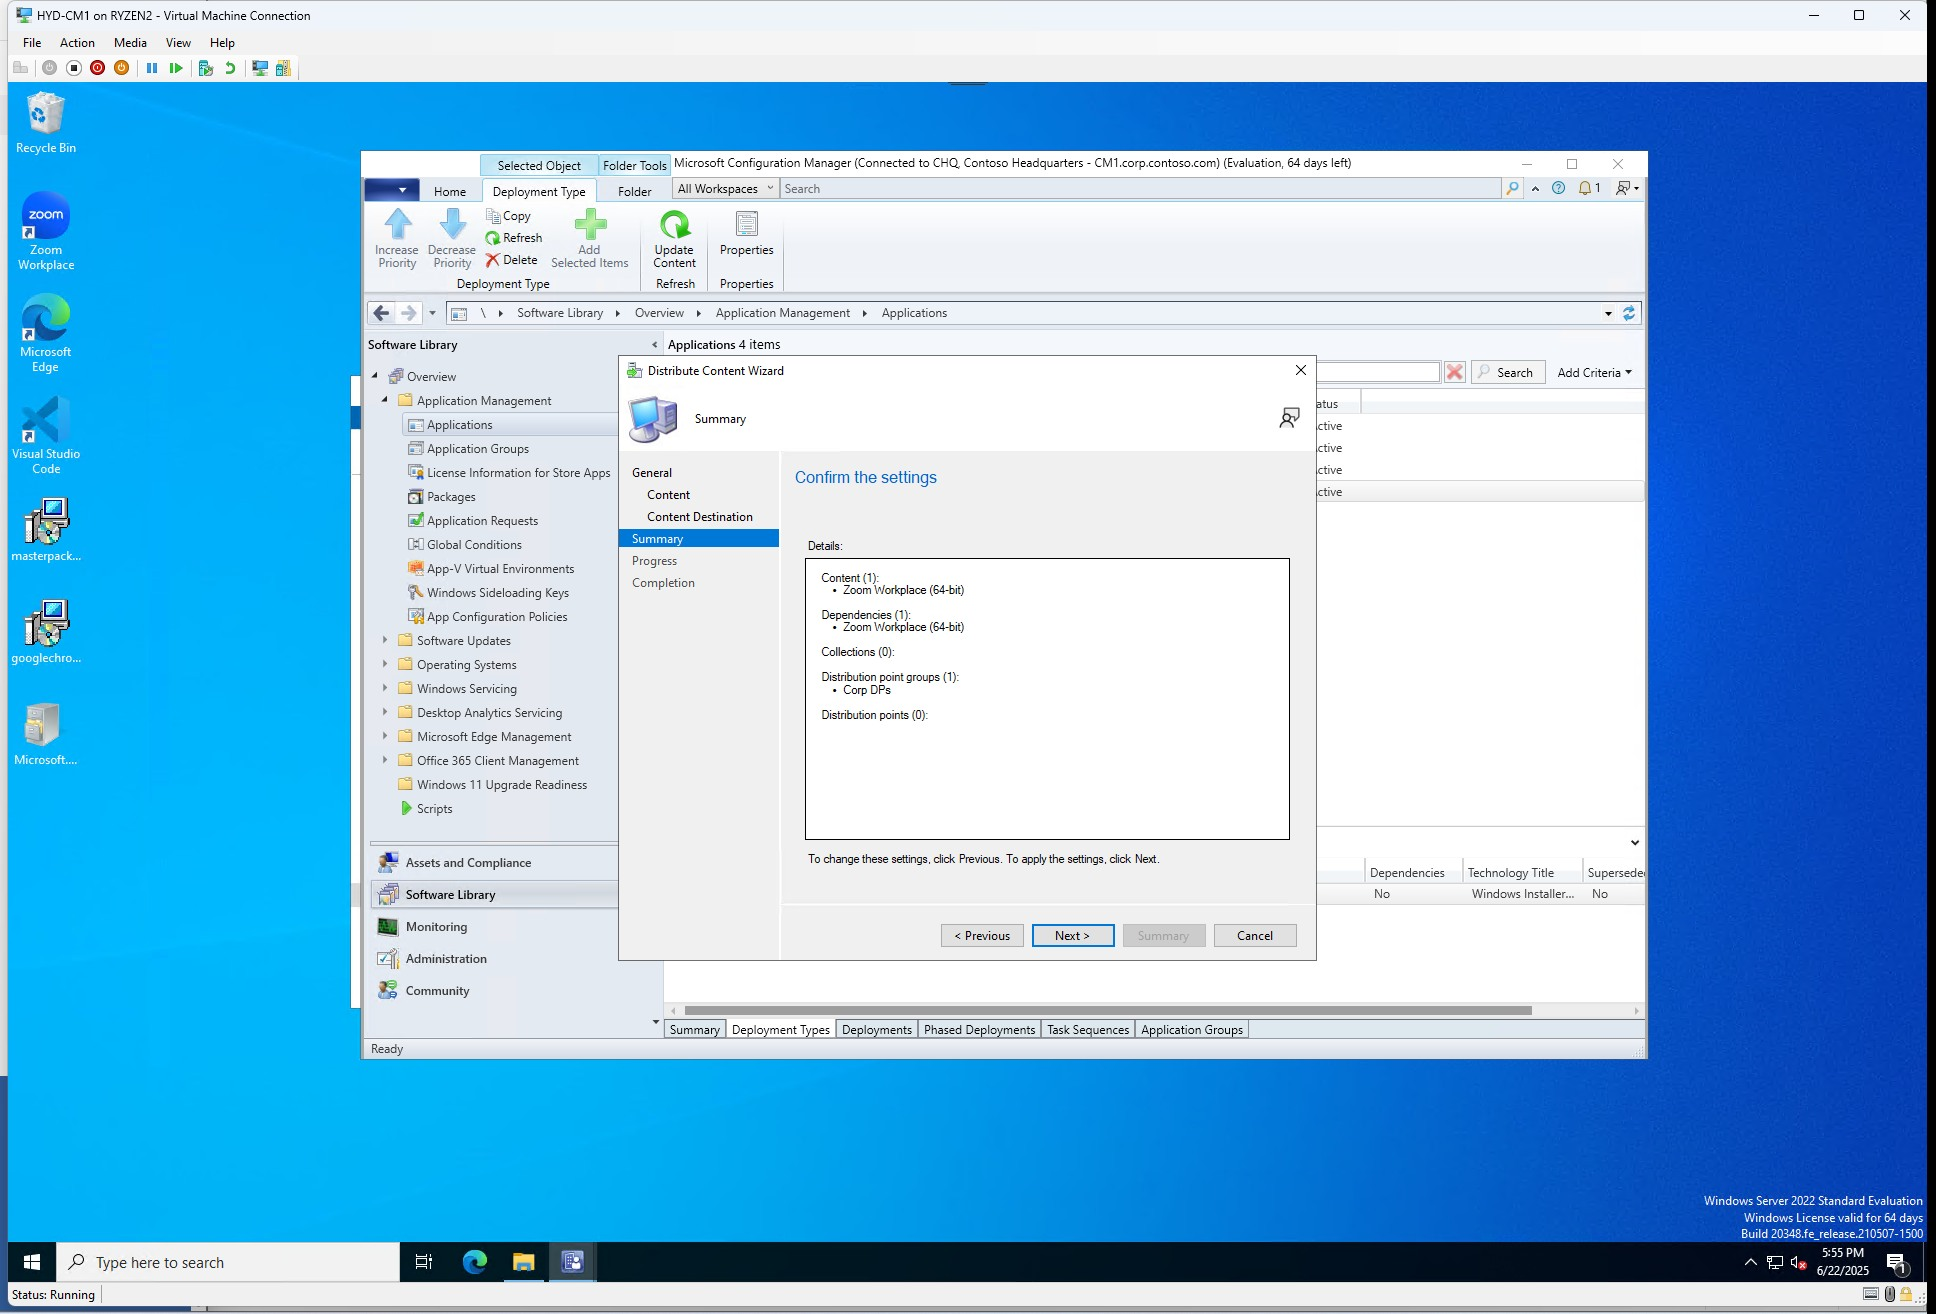
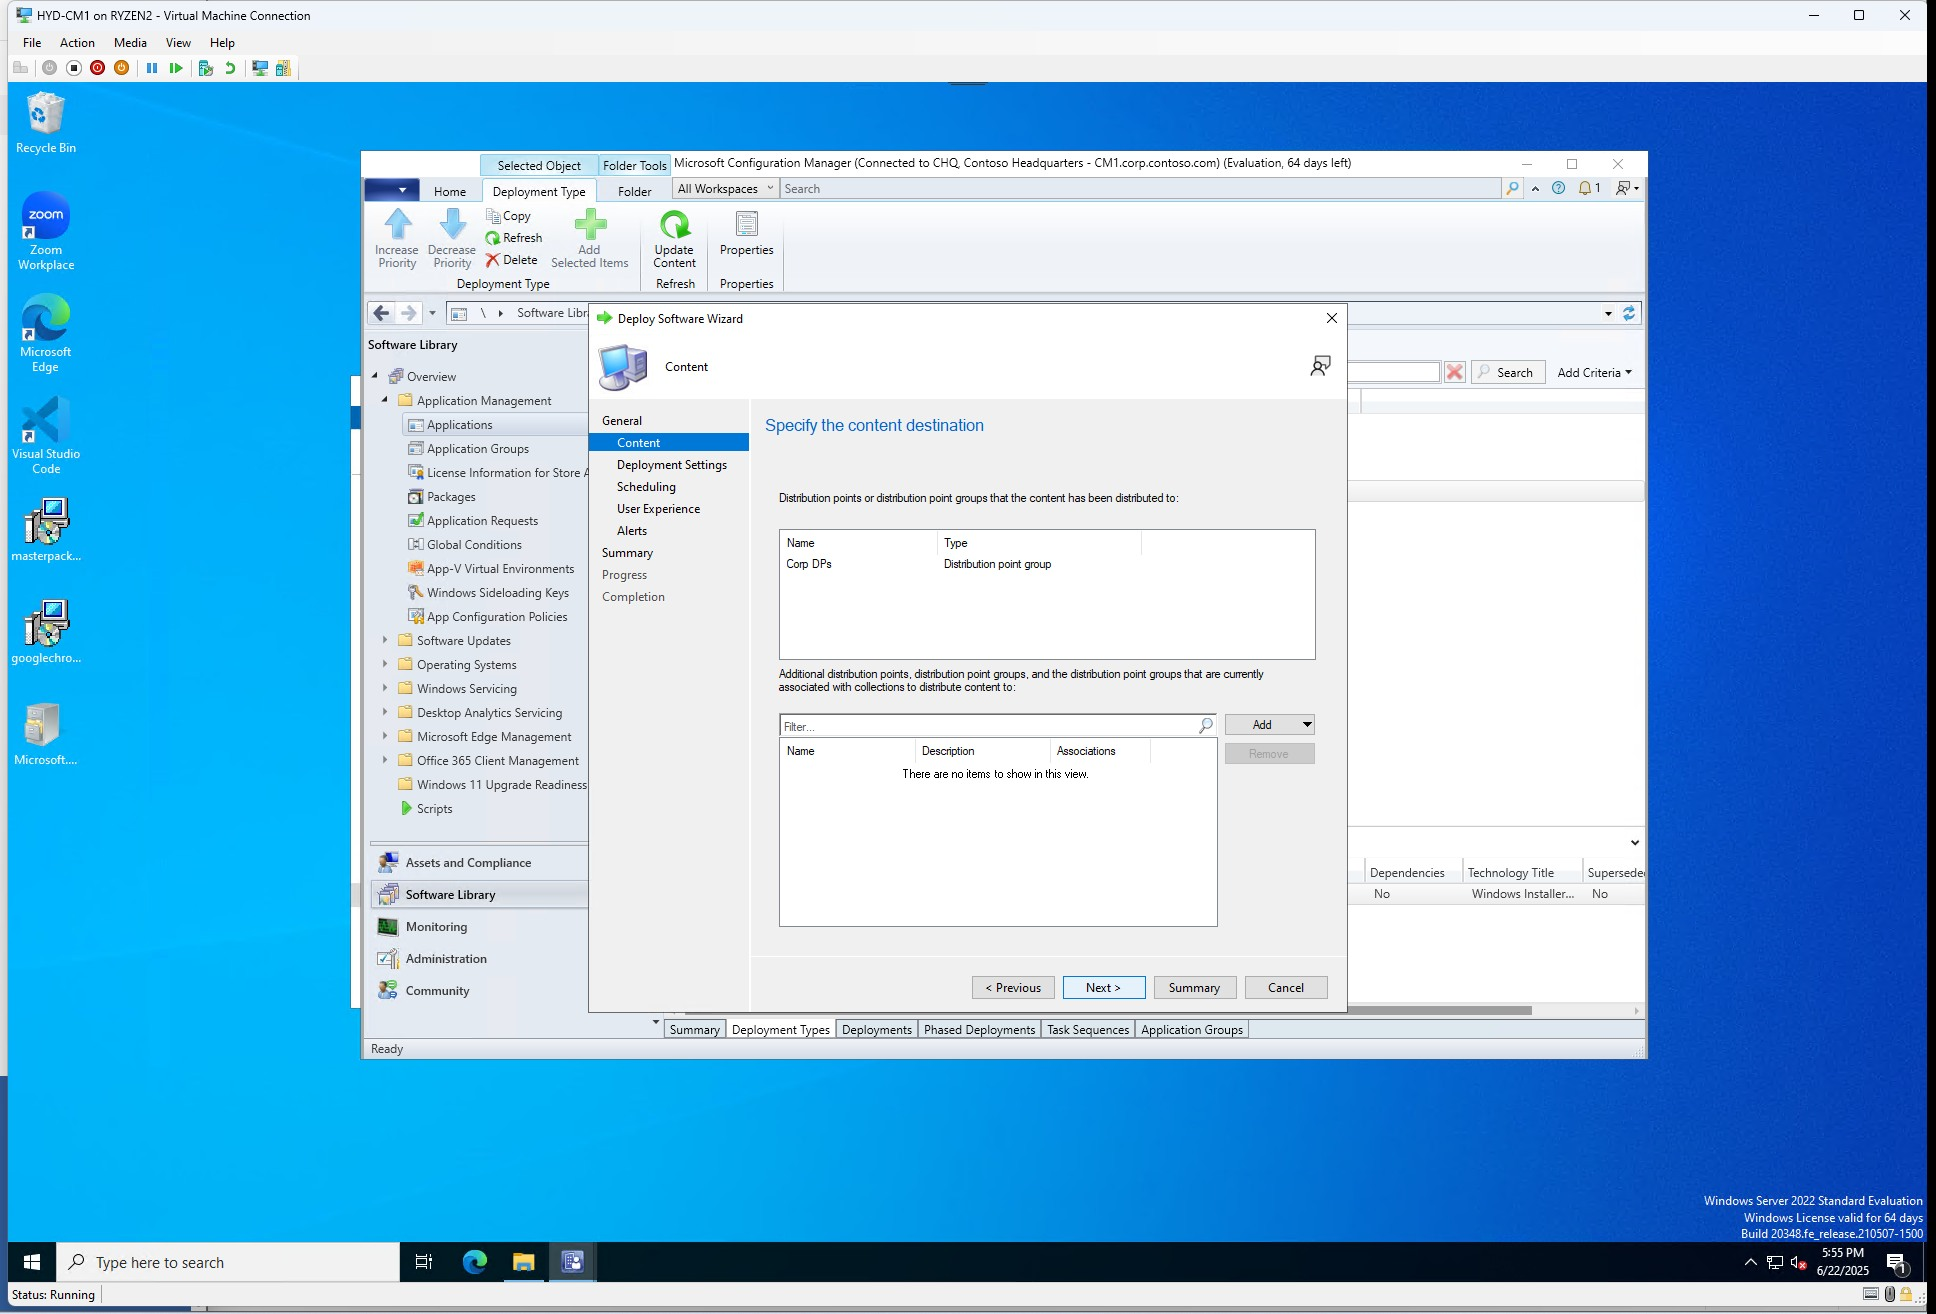
Next we will distribute content to our distribution point (s)
Right-Click application name Distribute ContentNext > Verify content to distribute > NextClick Add to specify DP(s)I prefer Distribution Point Group but for testing you may choose your local one before distributing to all sitesChoose DP group (this is created in Administration Click Next > Next after confirming settingsClick close for wizard
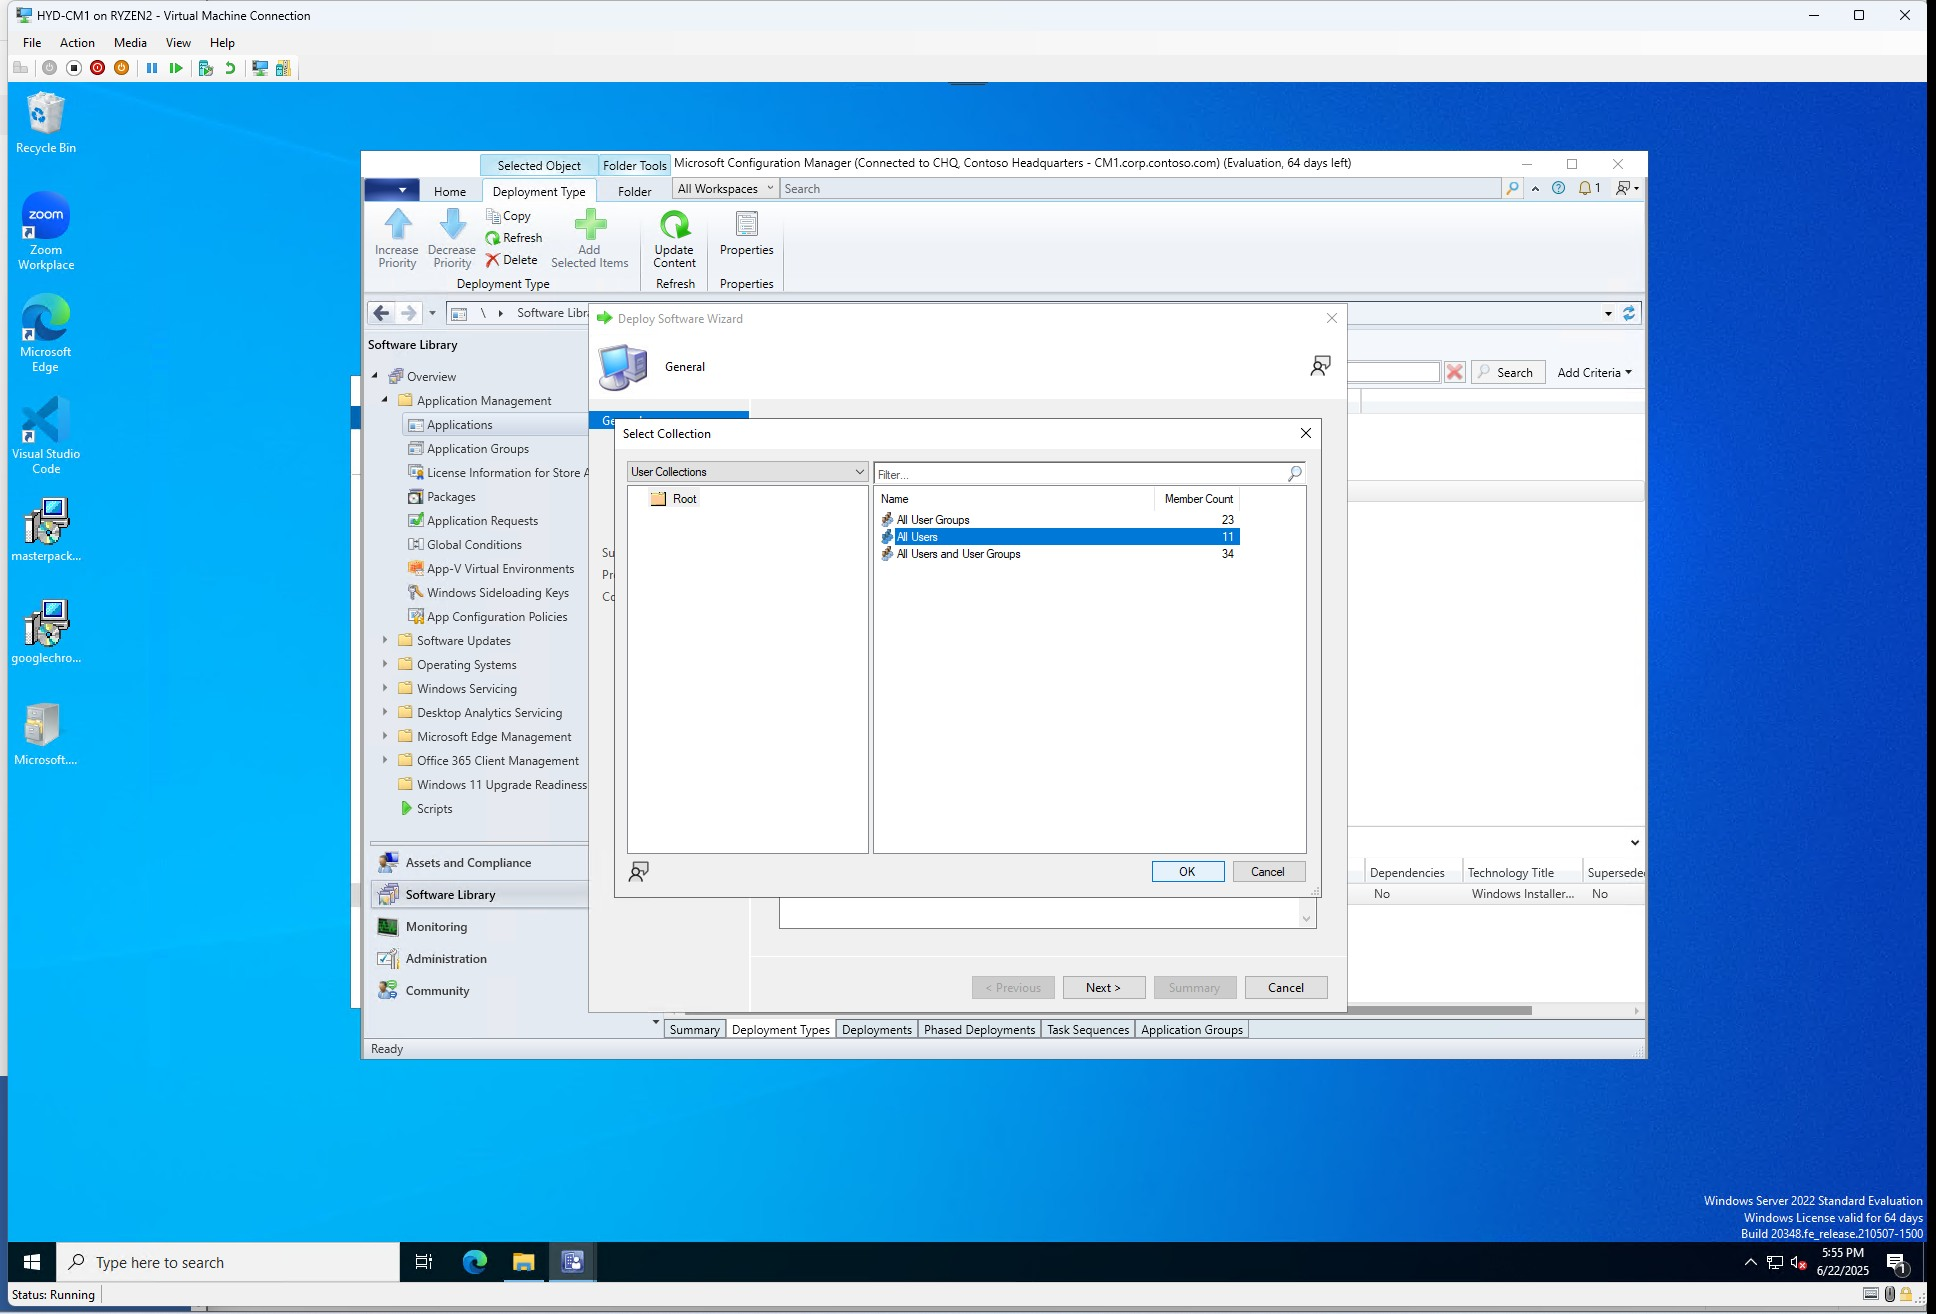
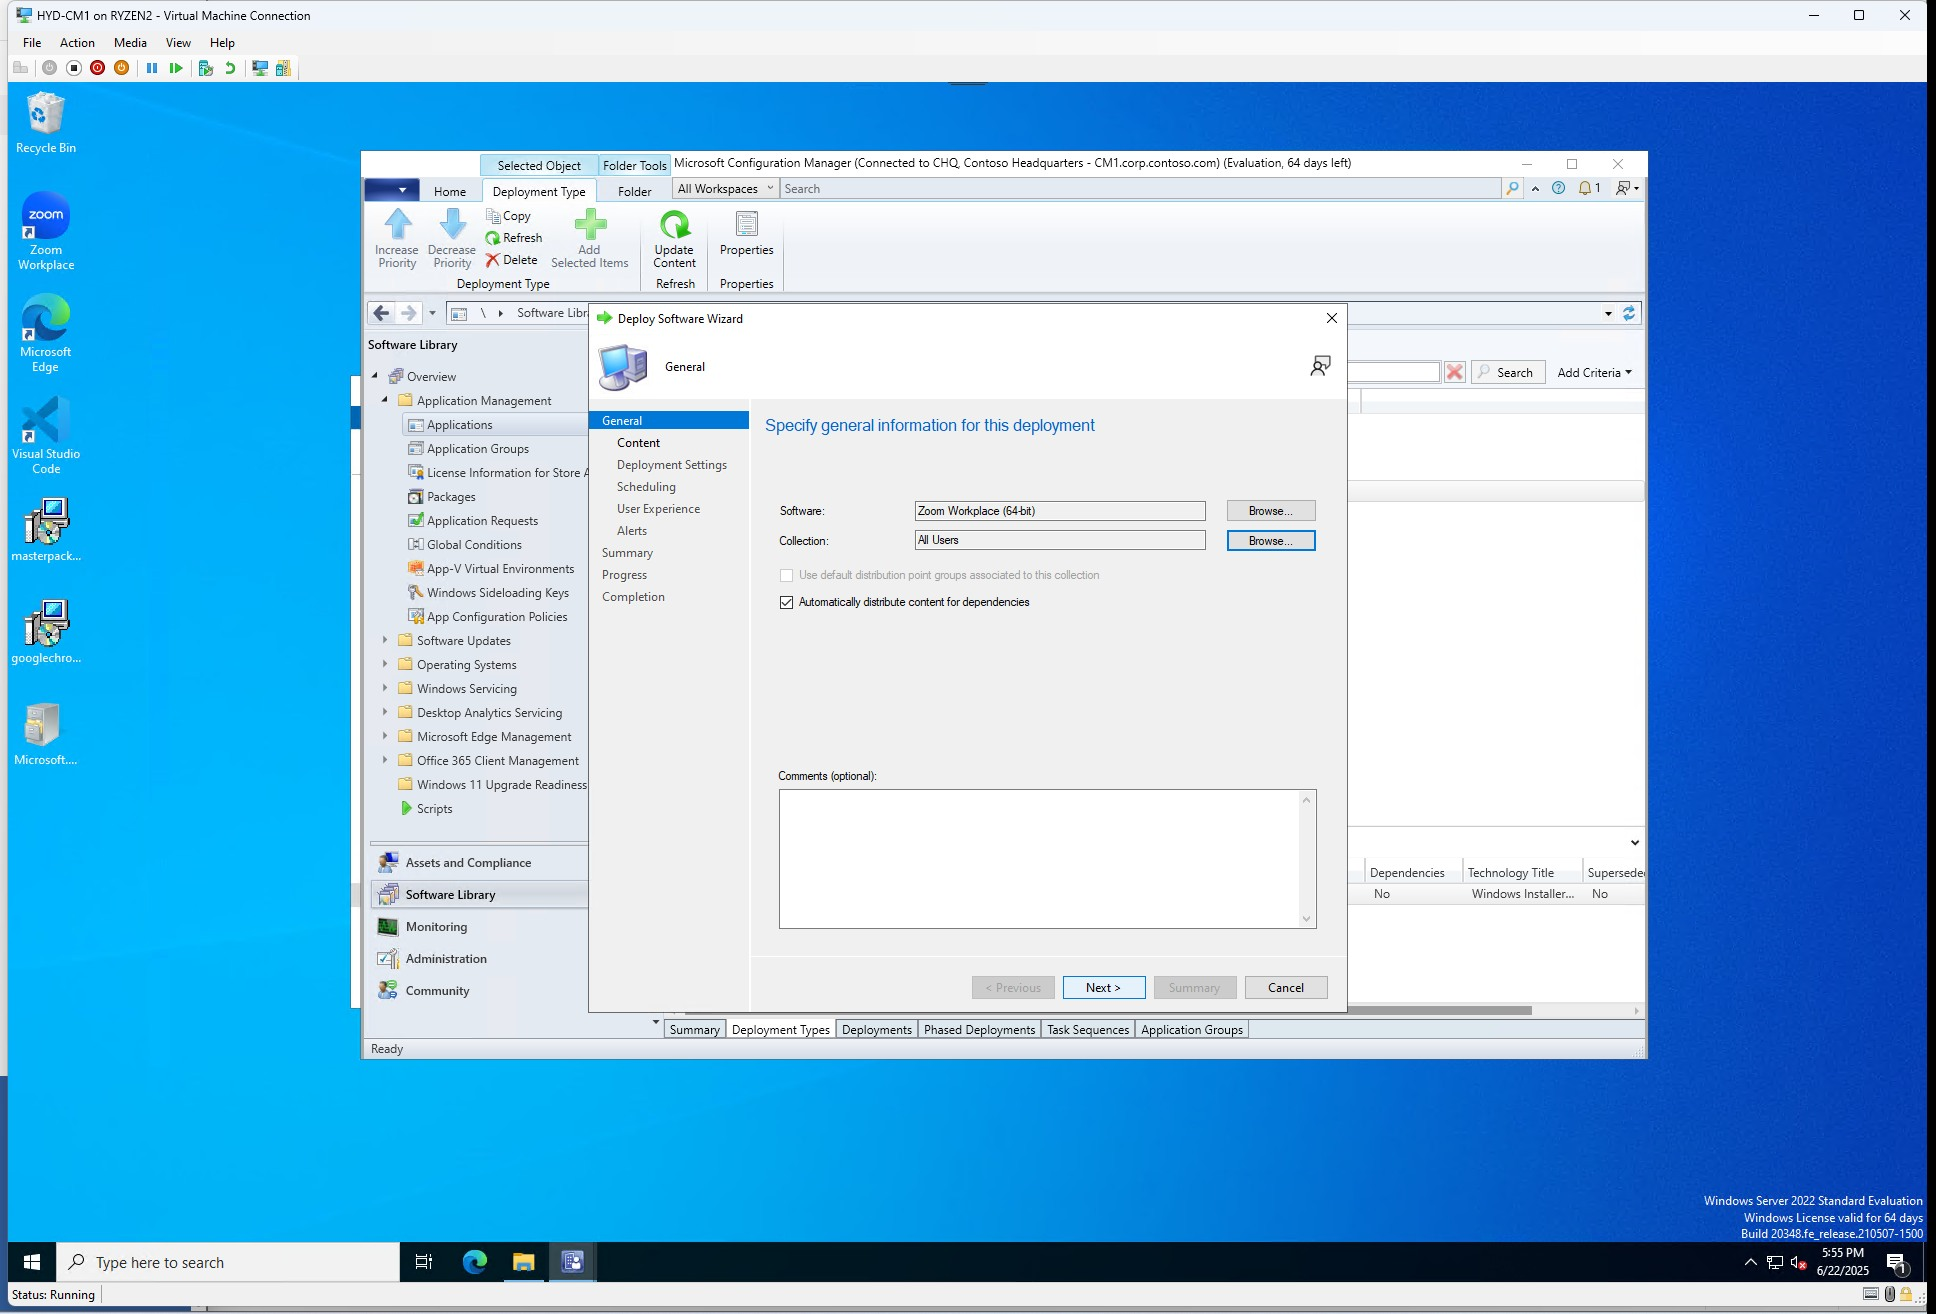
Here we will configure the options for Deployment, there are different options if you want to deploy as device/user-based, specific collections, scheduling, experience, required or availability in Software Center.
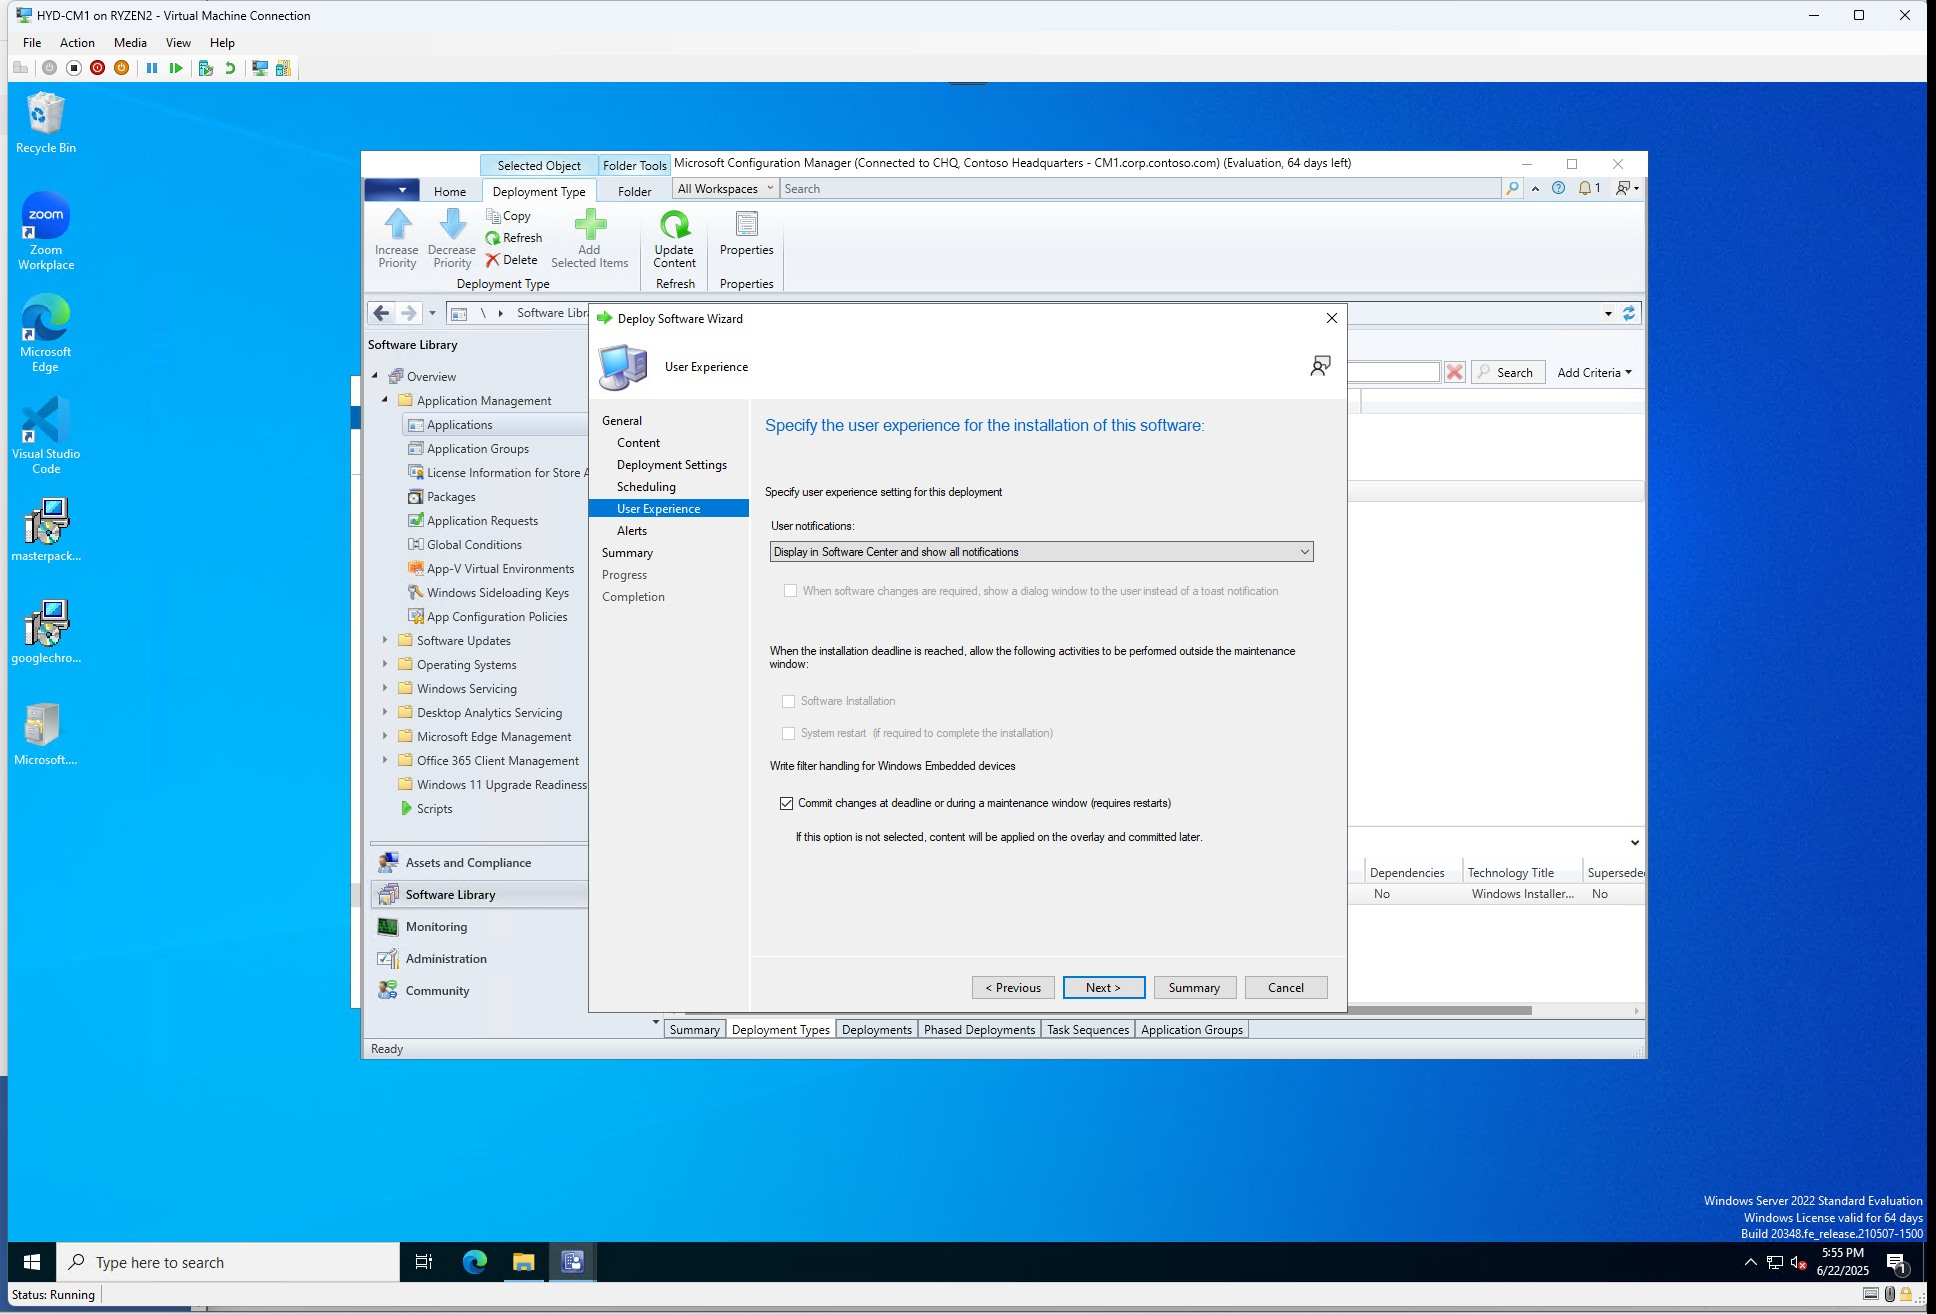
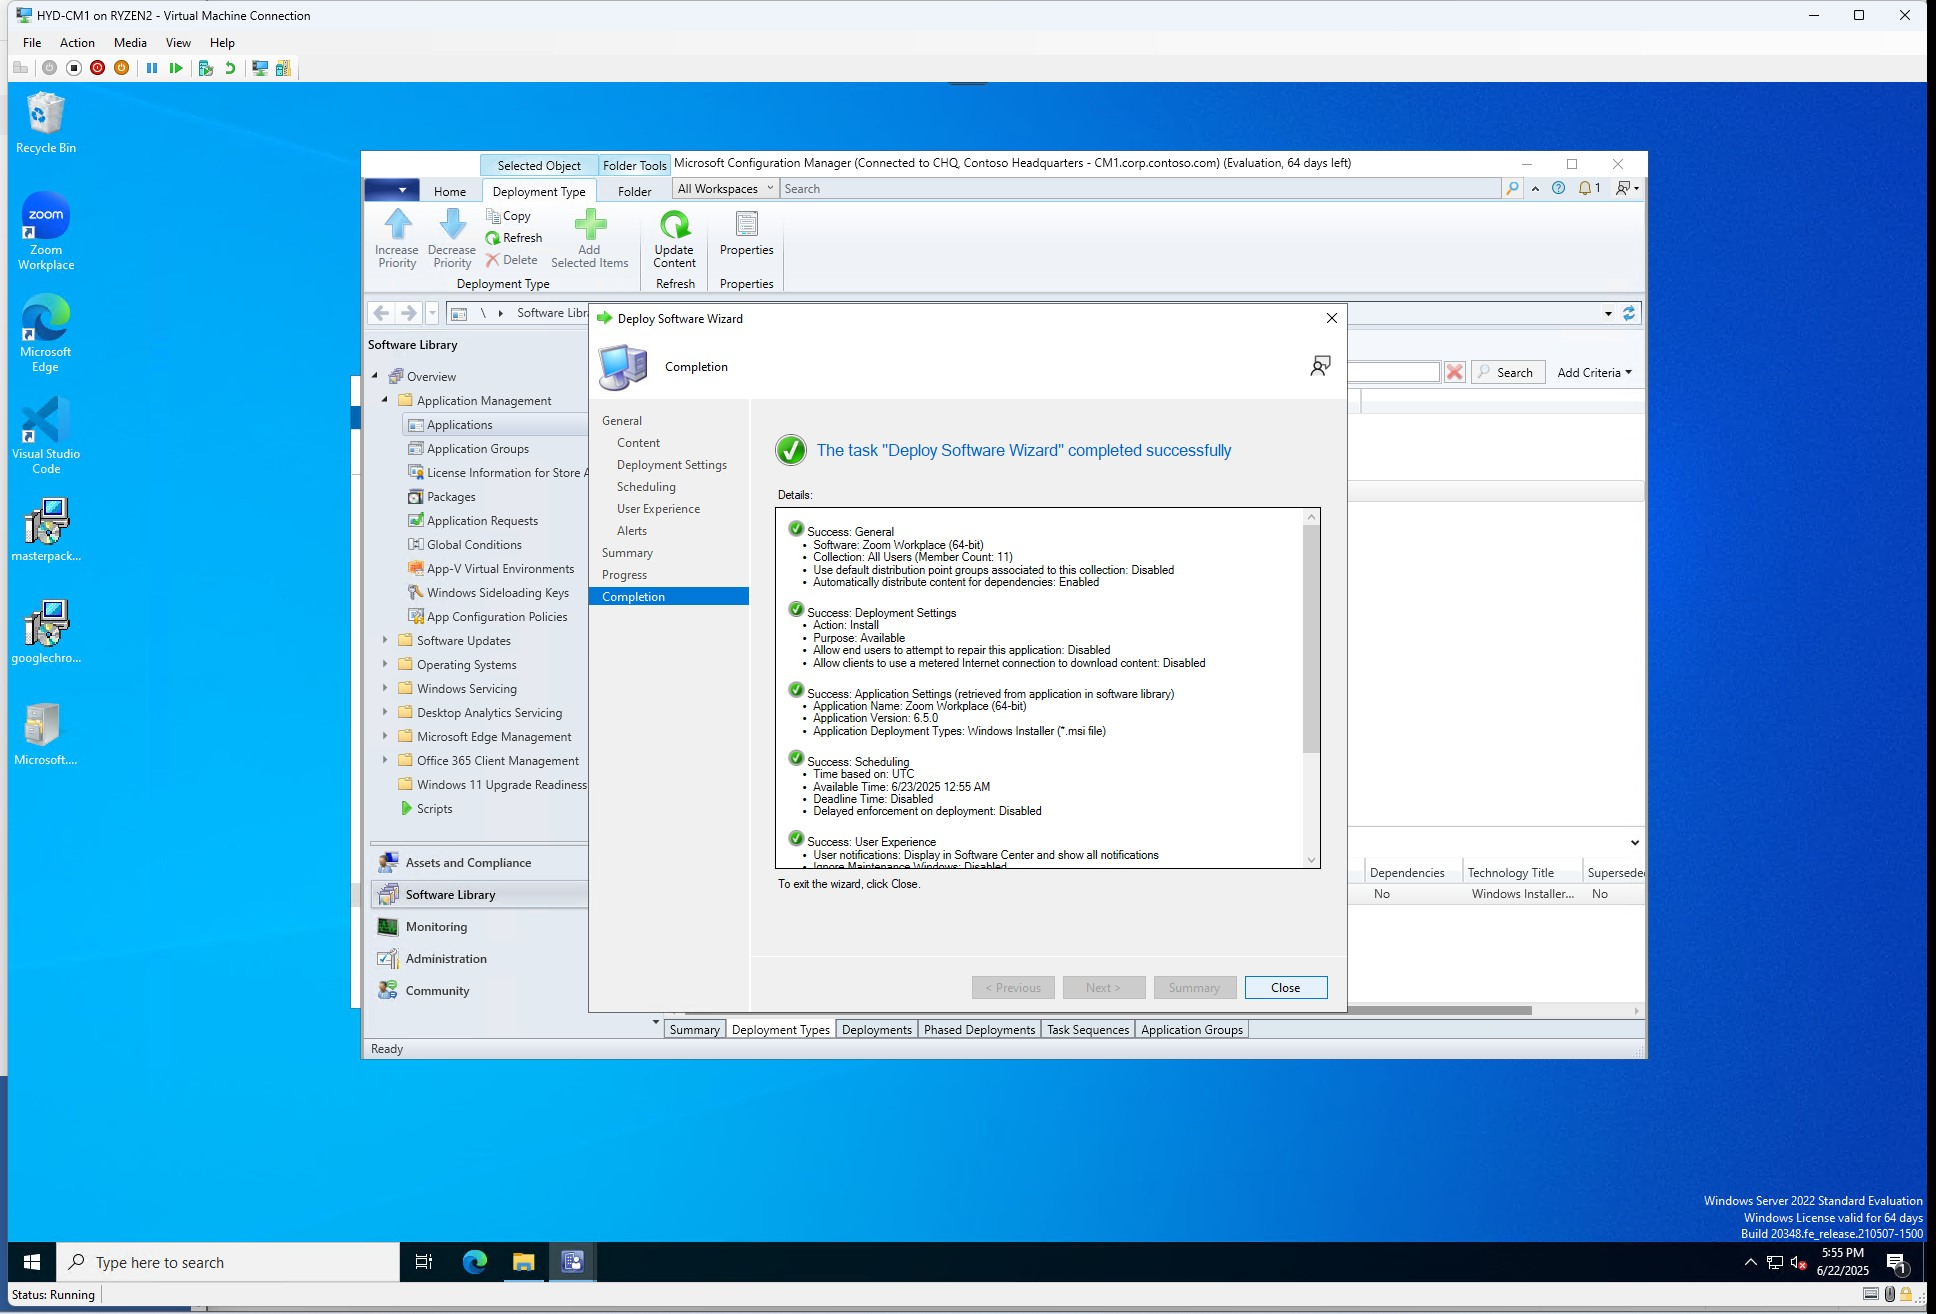
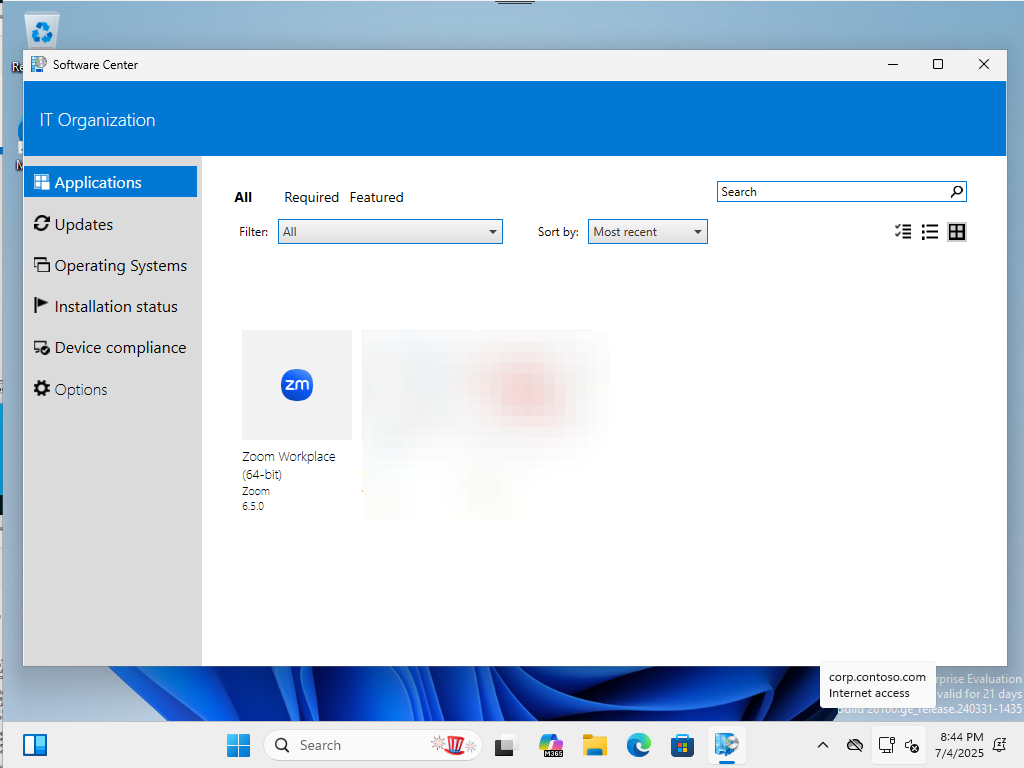
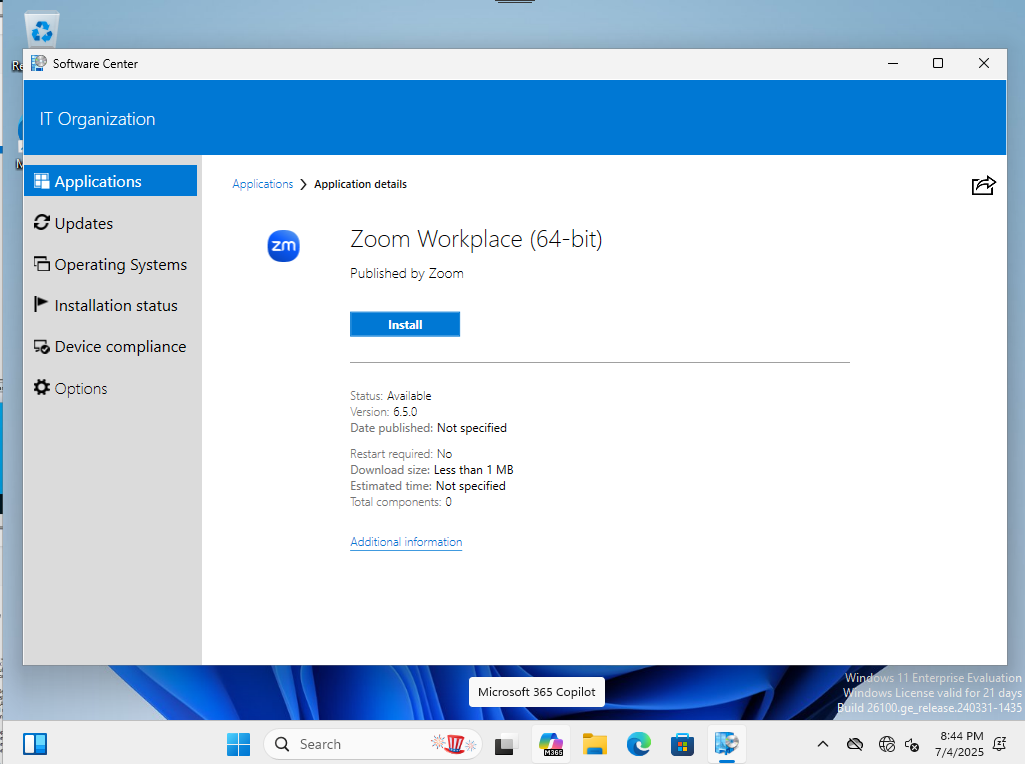
Right-Click application name > DeployBrowse collection to deploy toI am deploying to a User CollectionAll Users > OkNext >Verify the content destination which we completed above > Next >Choose Install > Available to be made available in Software Center. You can have require administrator approvals which will notify administrators to review or allow repair of application but this would have to be configured earlier.Choose the time and date you wish to have the application be made available I like to have Display in Software Center and show all notifications but this can be changed to hidden or show only restart notifications.Next > Next > Close Open Software Center > Applications to see Zoom applicationClick on application > Install
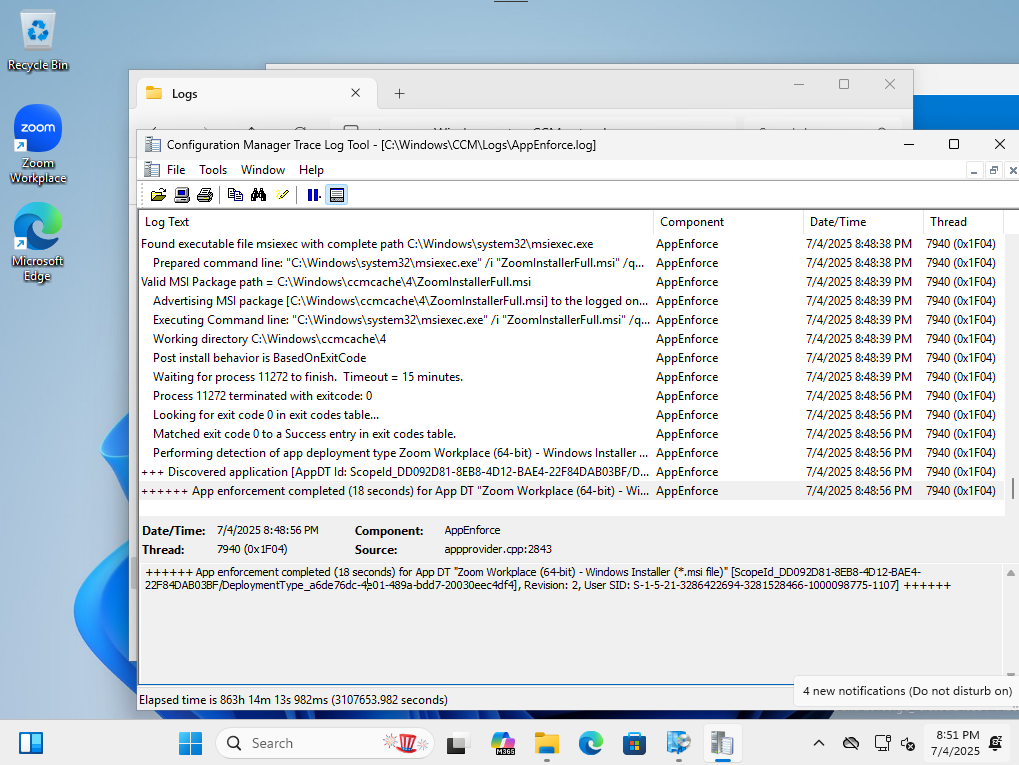
If the application is successful you will see the desktop shortcut if it creates it or in the application folder. I prefer to verify by navigating to the AppEnforce folder and checking for the exitcode0️⃣ and that the detection of app deployment was also successful.
This is the end of configuring an application deployment (ex. Zoom). There are many ways but this is the one I choose to do for our environment.
Stay tuned for more Configuration Manager and Intune blogs.